GP Super Sportster build
 01-19-2024, 03:45 AM
#1
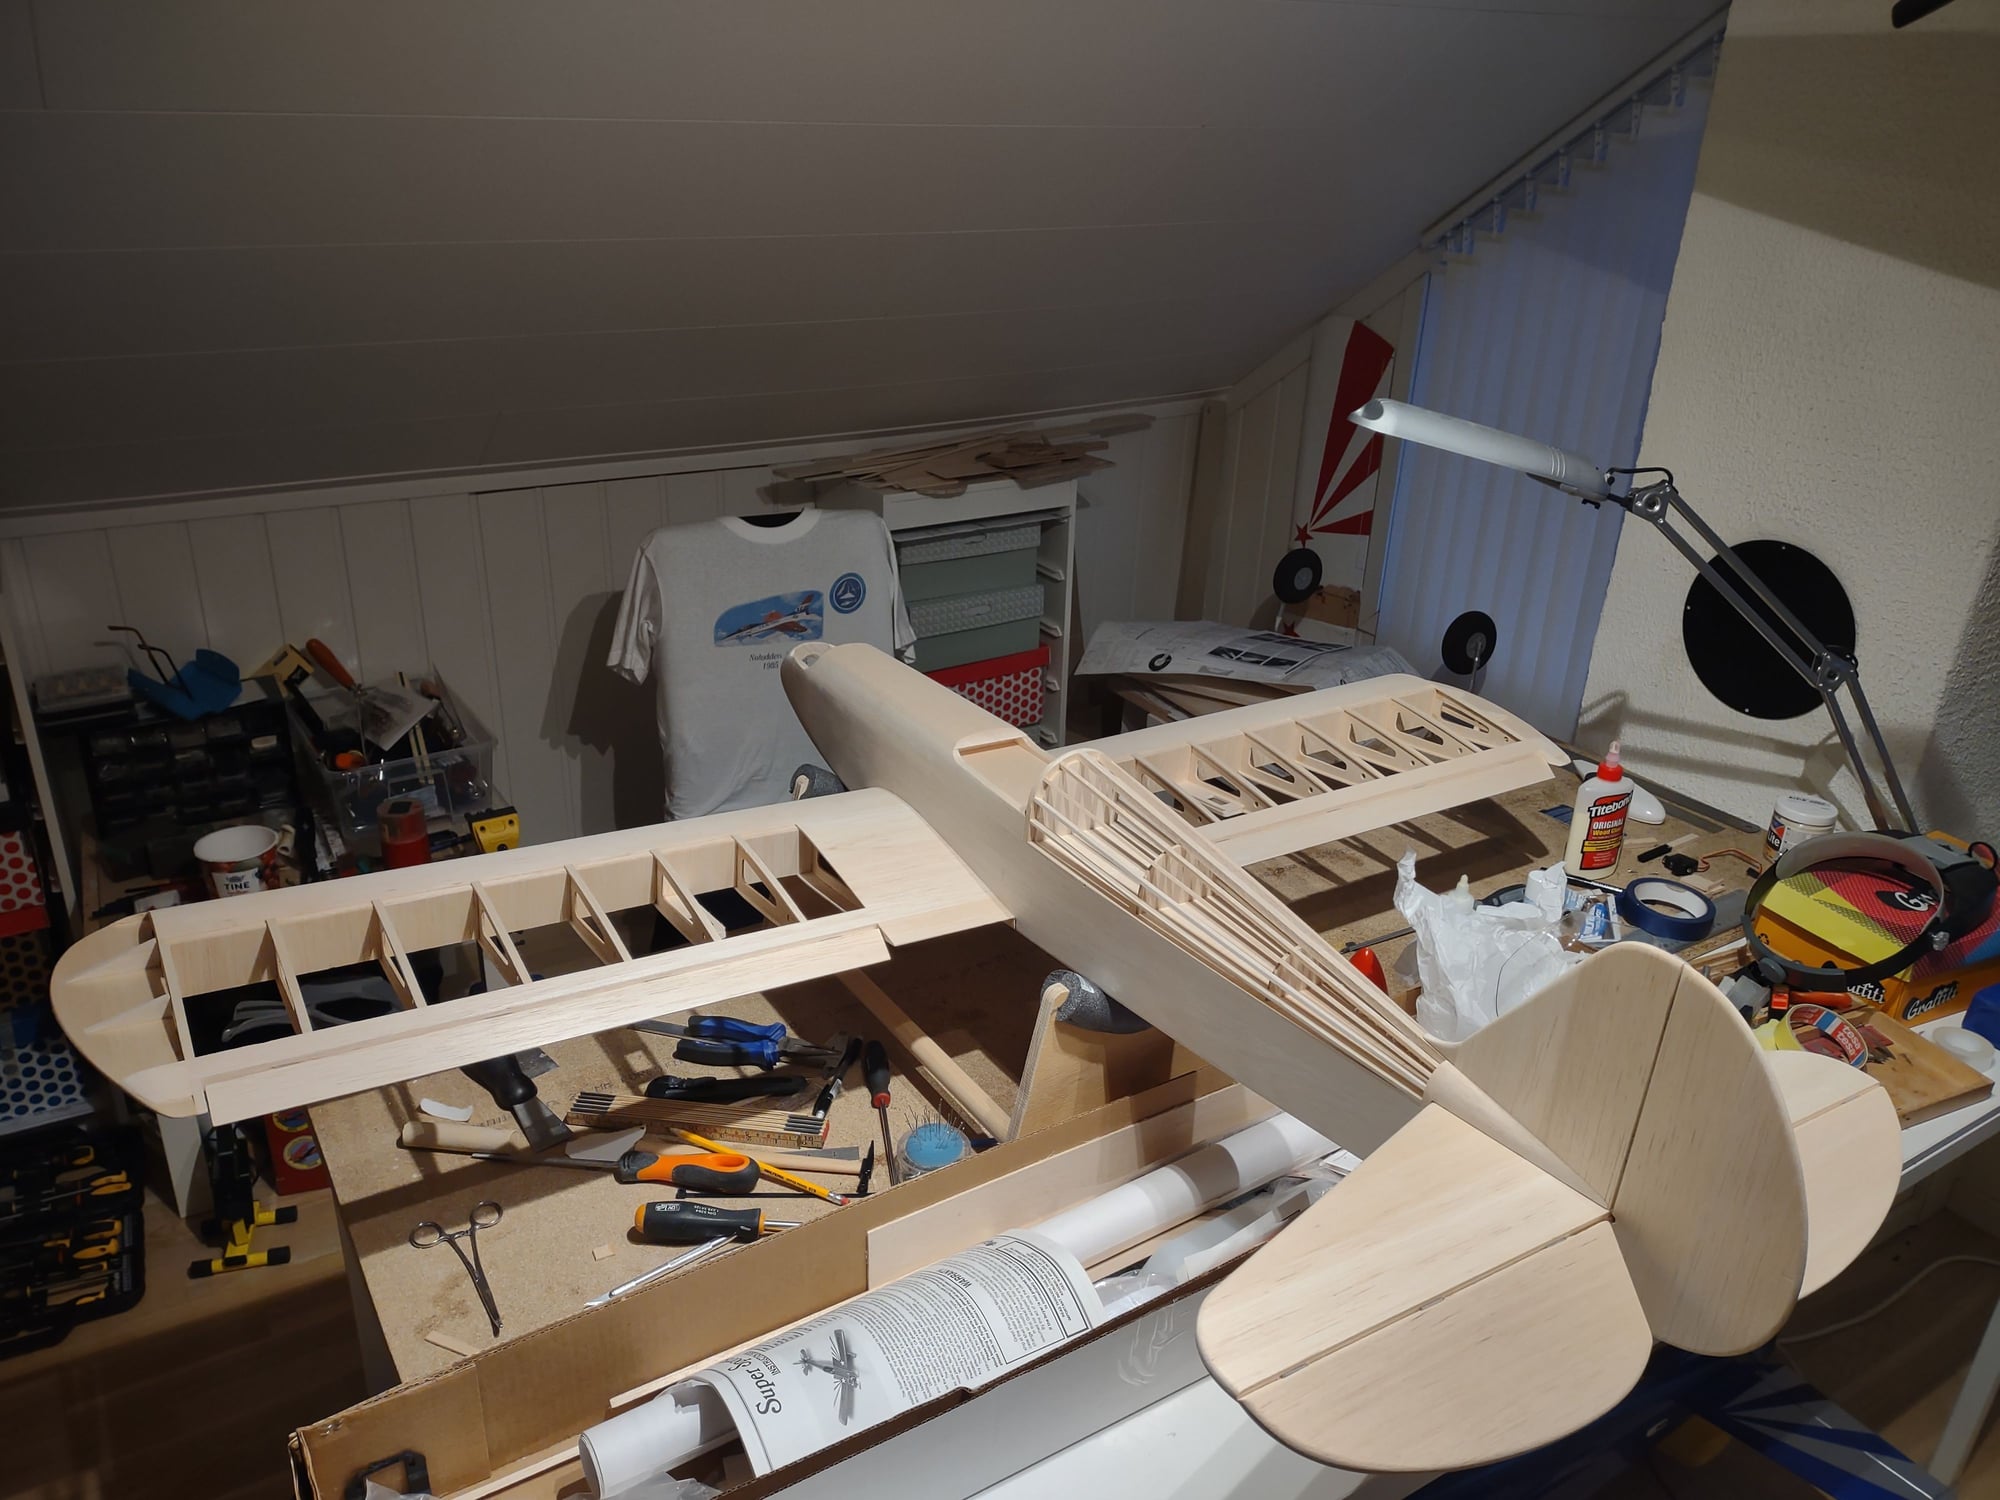
Snow and rain outside... Decided to put the current projects aside and pull one of my old boxes out of the attic and start a new build. A fairly simple but nice GP Super Sportster 60 now arising slowly! I Plan for an OS FS @81 in its nose. A project that I might be able to complete within a decent timeframe (hopefully), which is not the case with my other projects 
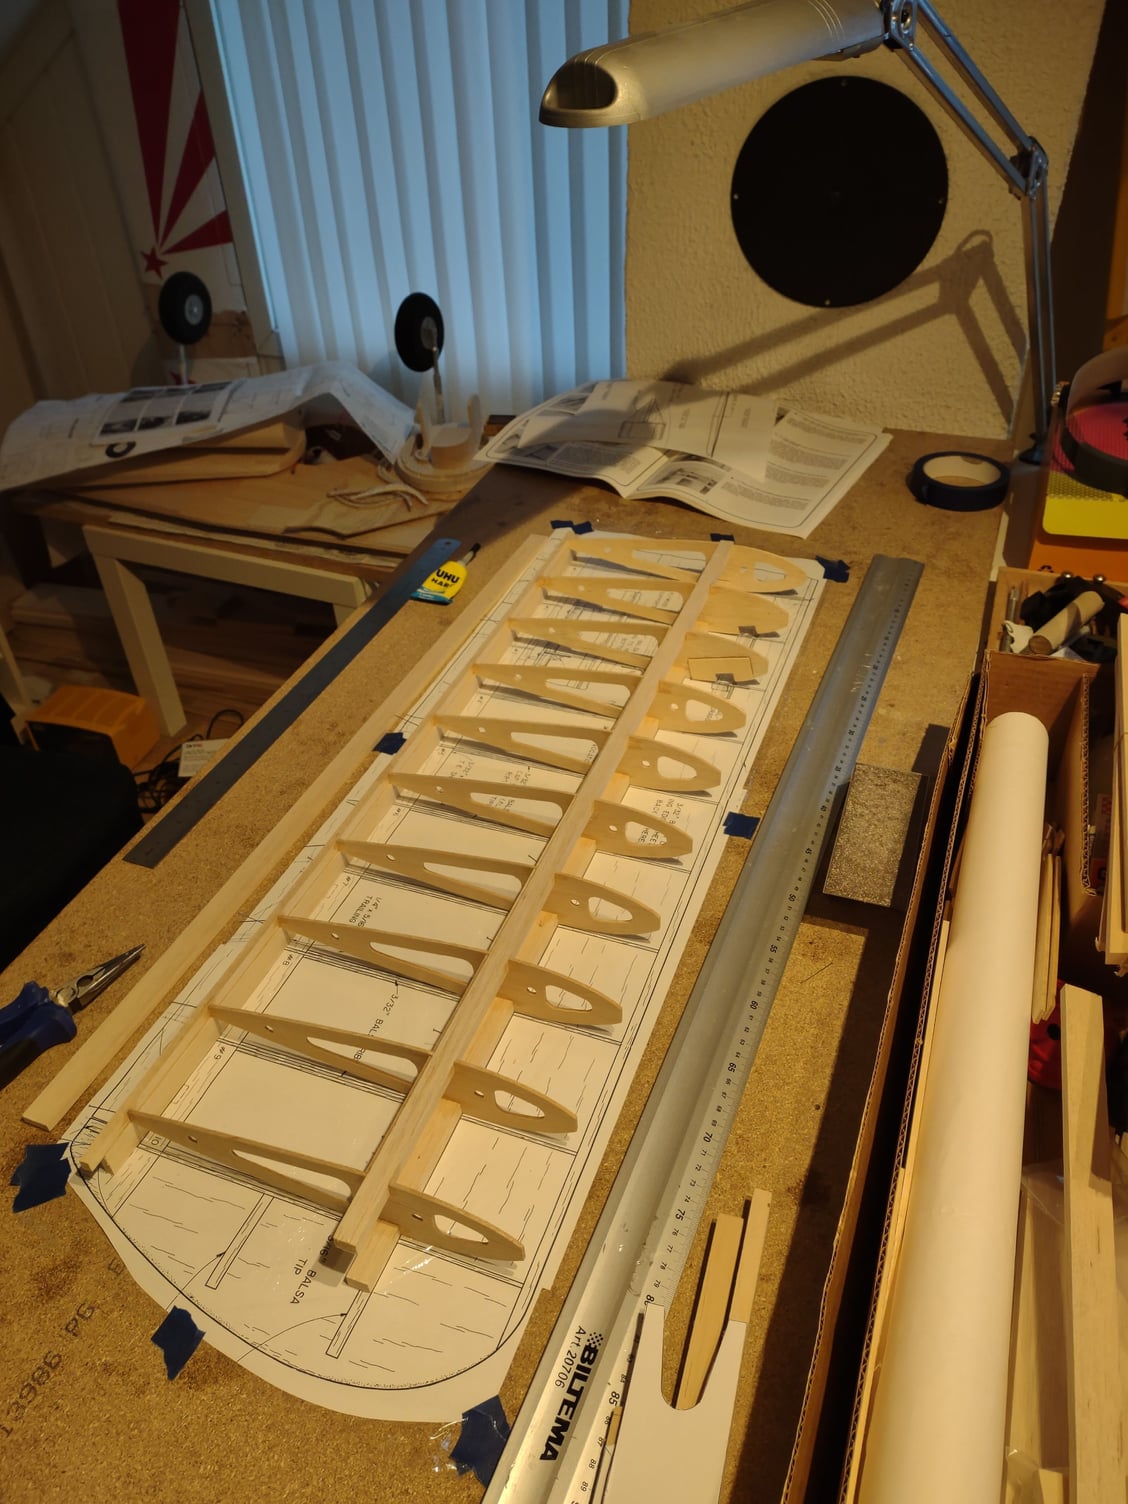
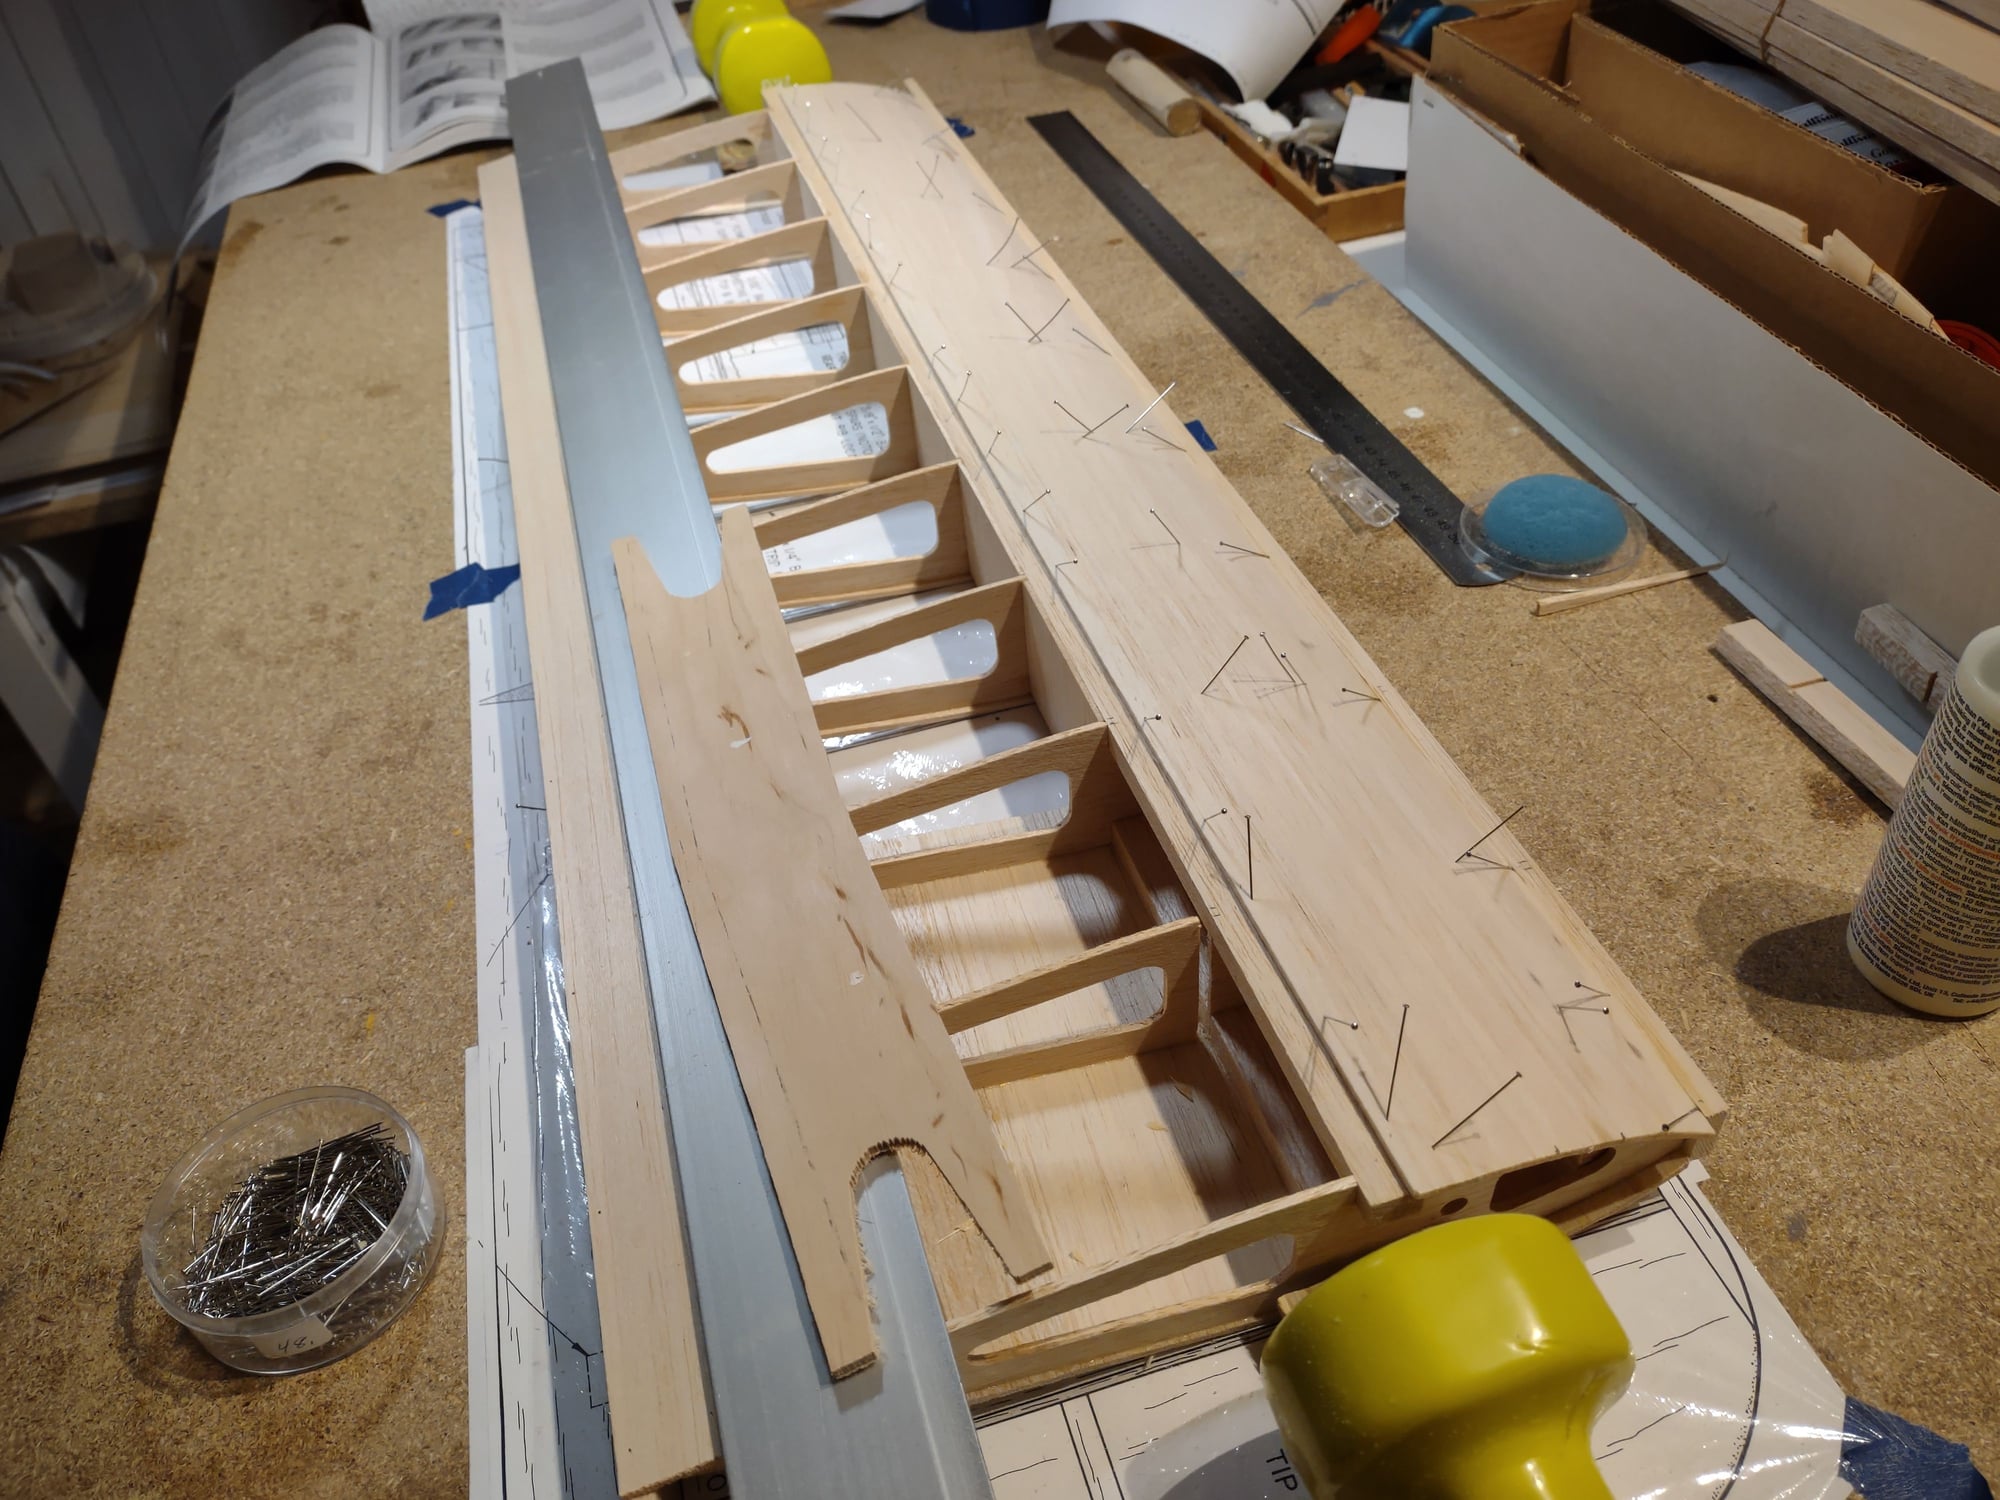
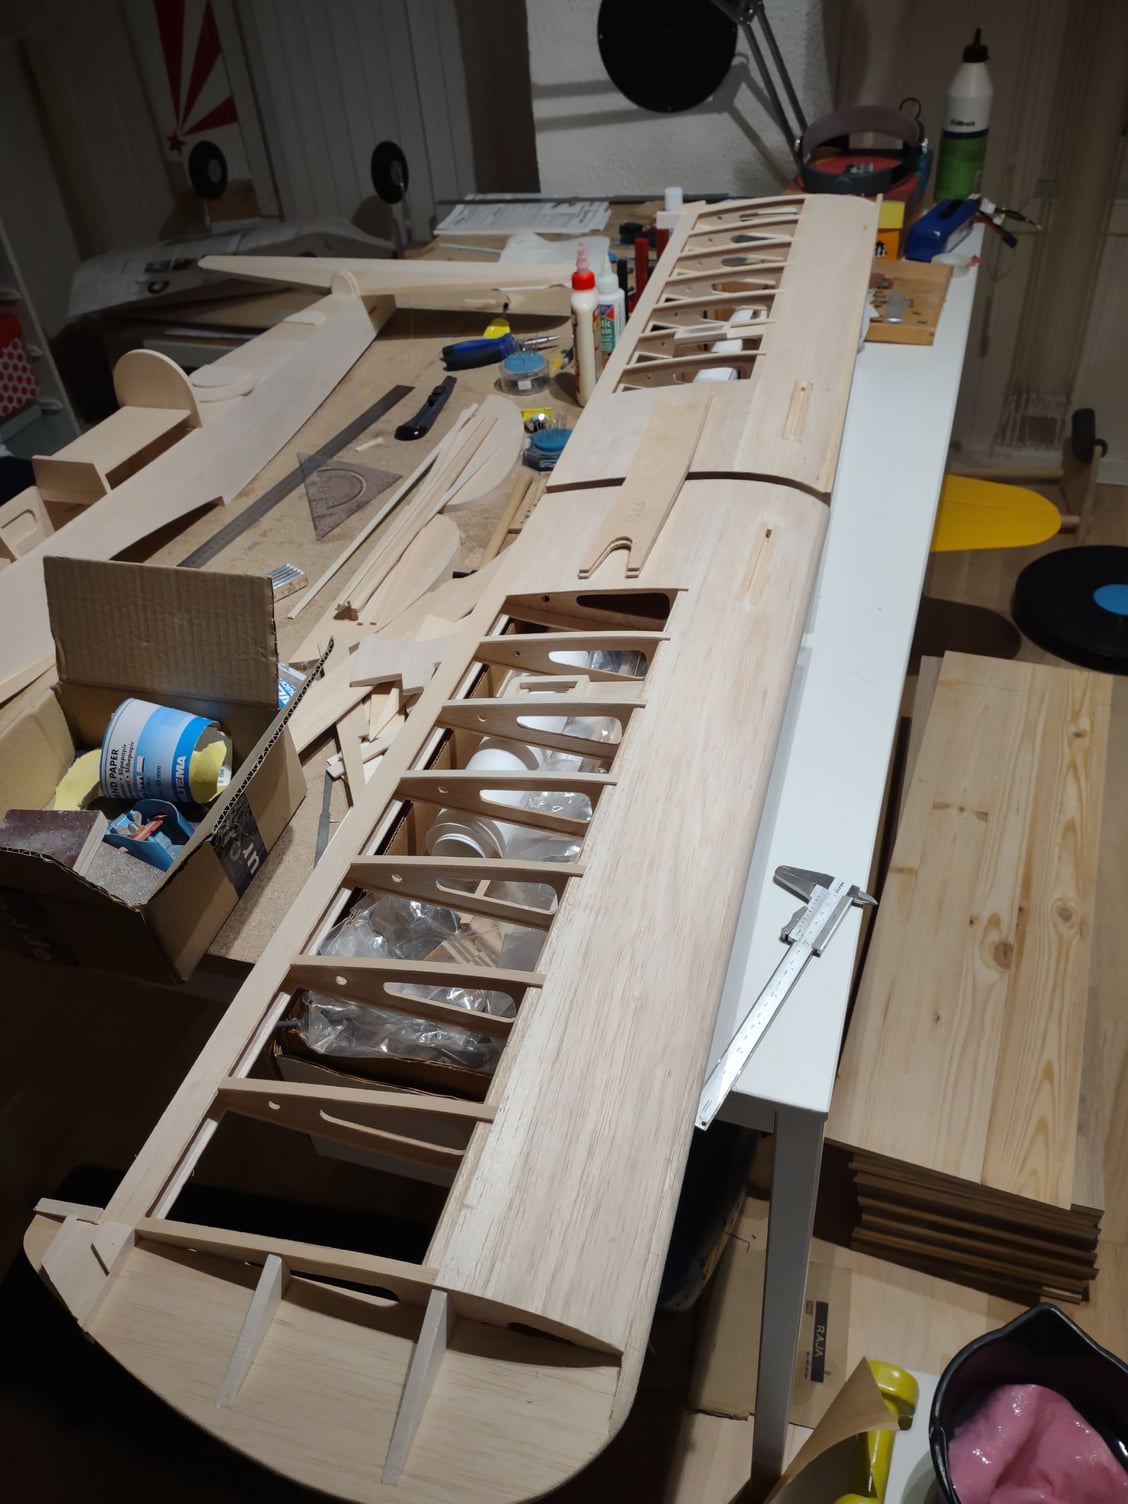
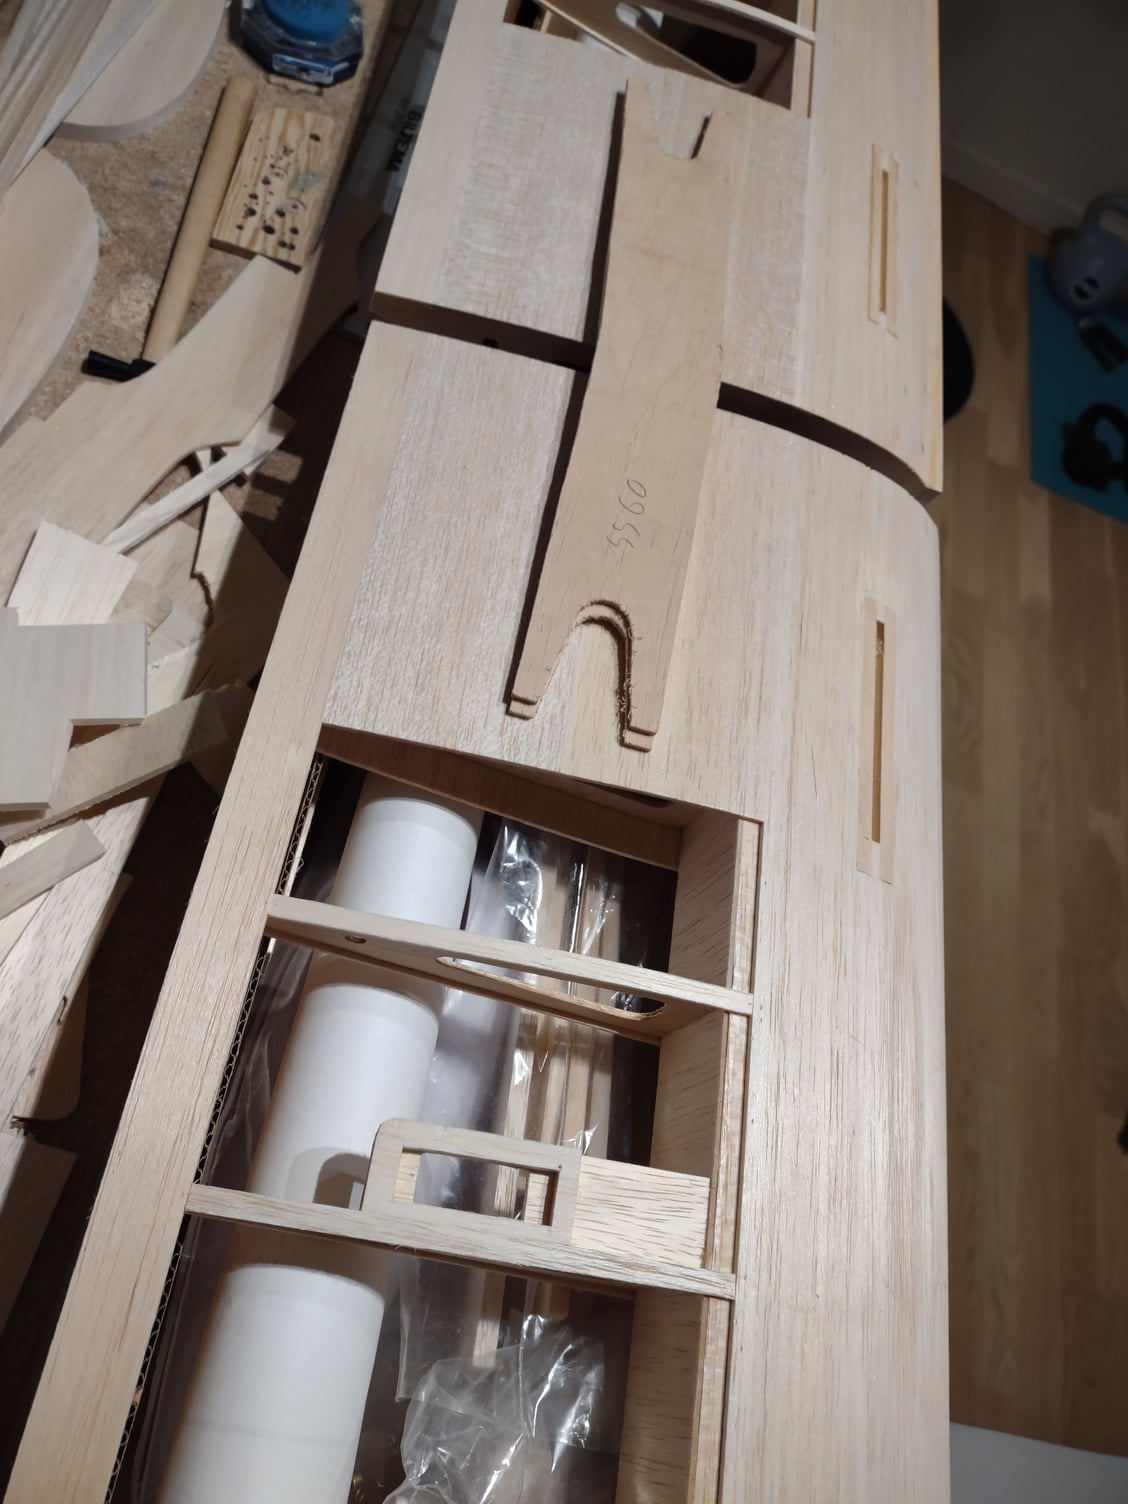
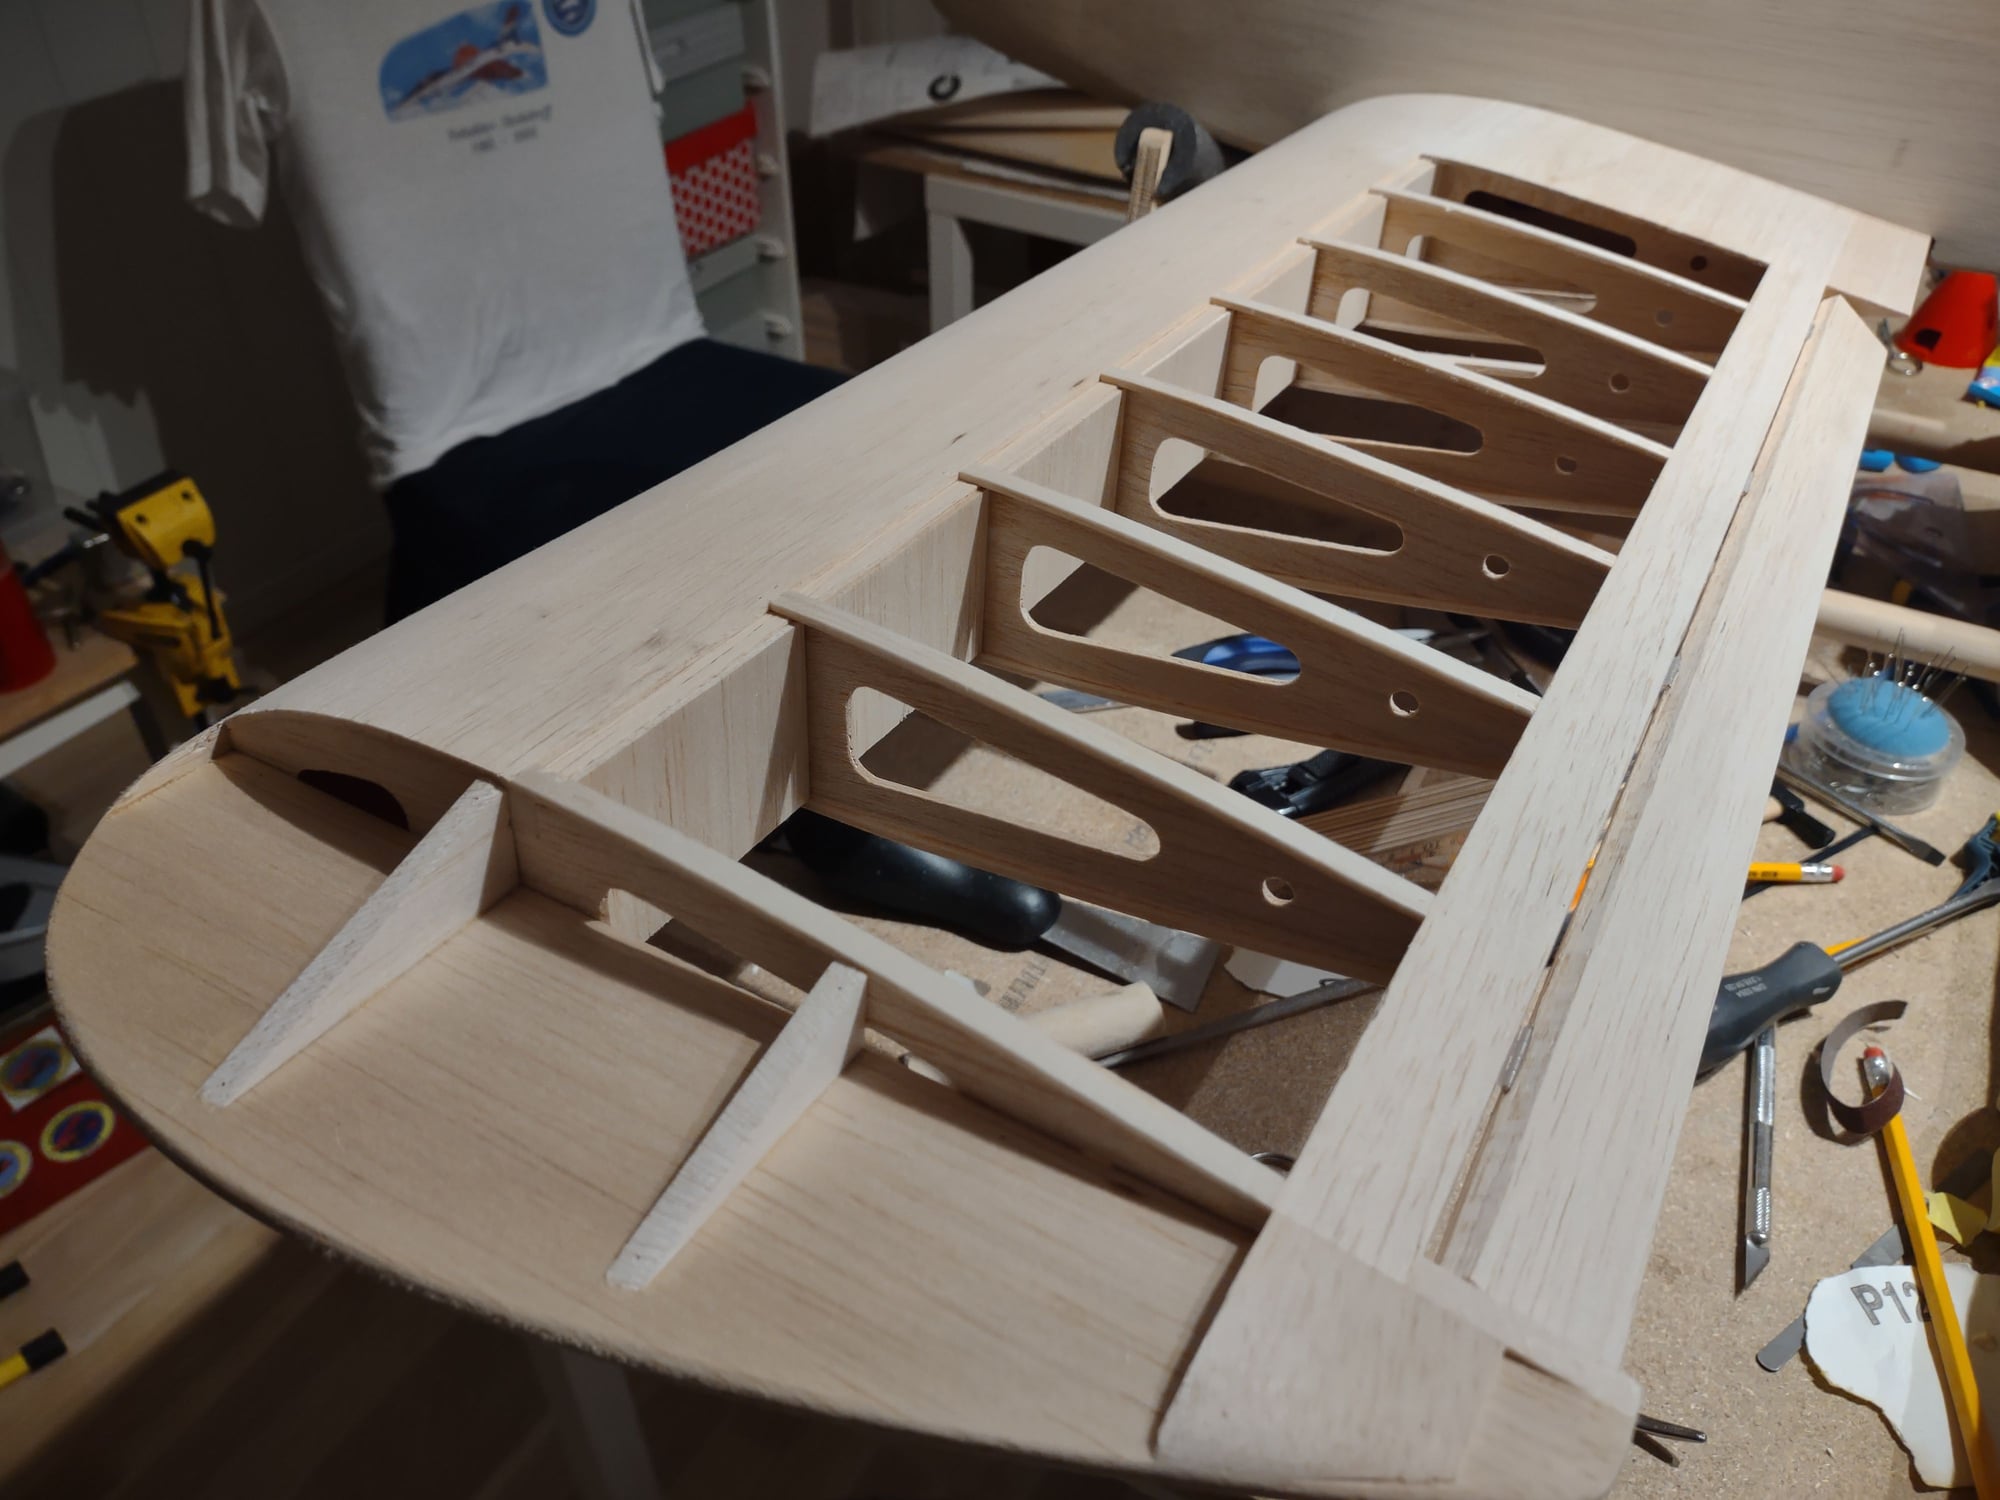
Some nice progress. Most of the main components in place for the first wing panel. The SS60 is a of a simple conservative construction which assembles quickly. Despite being made by "die-crush", the parts fits nicely and needs minimal of sanding/adjustment. What a joy Some modifications are done. I added shear webs to one side of the spars and have made 2x dihedral braces from 3mm ply to strengthen up the wing joint. The center rib also needed to be tilted slightly for a nice fit. Made a template for getting the angle correct. Needed to slot rib #2 to accept the dihedral braces before adding the bottom sheeting. The inner rib will be slotted just prior to joining the panels. By the book. there should be a tapered piece of balsa between the wing panels and no dihedral brace. Just some glass fibre epoxied over the joint. This can be omitted as I have added the dihedral braces, giving a much smoother joint. Will no add on tip details, aileron and start the second wing panel.
Some nice progress. Most of the main components in place for the first wing panel. The SS60 is a of a simple conservative construction which assembles quickly. Despite being made by "die-crush", the parts fits nicely and needs minimal of sanding/adjustment. What a joy
 01-19-2024, 05:12 AM
#2

With that nice dihedral brace, maybe you won't need to glass the center section?
The Super Sportster series of kits/planes were all nice looking a good flying airplanes.
Count me in for riding along and watching your build....
The Super Sportster series of kits/planes were all nice looking a good flying airplanes.
Count me in for riding along and watching your build....
01-19-2024, 05:37 AM
#3

I will keep you updated!
02-05-2024, 02:48 PM
#6

I had a .40 size Sportster with an ST .45 in the late 80's that I flew the pants off until overconfidence reared it's ugly head and bit me, causing me to lose the model due to youthful stupidity. I had countless hours of enjoyment with that nice flying model.
02-05-2024, 06:59 PM
#7
Senior Member
My Feedback: (2)
Join Date: Apr 2020
Location: Metro Atlanta GA, USA
Posts: 416
Likes: 0
Received 36 Likes
on
32 Posts
The lines on that plane are nothing short of gorgeous, and a pleasure to build. I also built one in the late 80's, with a ST .45 on it, covered in red/yellow, just like the box. It took me a little while to learn how sweet they land when you get behind the power curve, coming in on final just a tad nose-high, regulating descent with power. Up until I learned that, I would burn up an entire runway slowing it down. But I was a self-taught pilot, coming from a Telemaster.
My Super Sportster's demise came while setting up for a landing, something failed in the plane (likely electronic), and it just broke right and dove in. No warning and no control.
My Super Sportster's demise came while setting up for a landing, something failed in the plane (likely electronic), and it just broke right and dove in. No warning and no control.

 02-15-2024, 12:27 AM
#9
Hi all!
Thanks for the replies! I guess we all have good memories from these planes. Back in the days when balsa and glow was the thing, I had a SS20 with an OS32 in its nose. It was covered in red with yellow trim like on the box. A nice little plane. It went like a rocket and of course got crushed at a point. The wing was not badly damaged, so it was saved. A few years later I repaired the minor damage on the wing and scratch built a new fuselage. This time it was covered in white with red trim. Flew nicely but had a serious crash in the end. I still have it and it is repairable but have been laying around for 20 years now. You can see its wing in the background of my first picture.
But now, its the building of the SS60 thats hot. Things moving slowly, as usual, but are shaping up nicely:
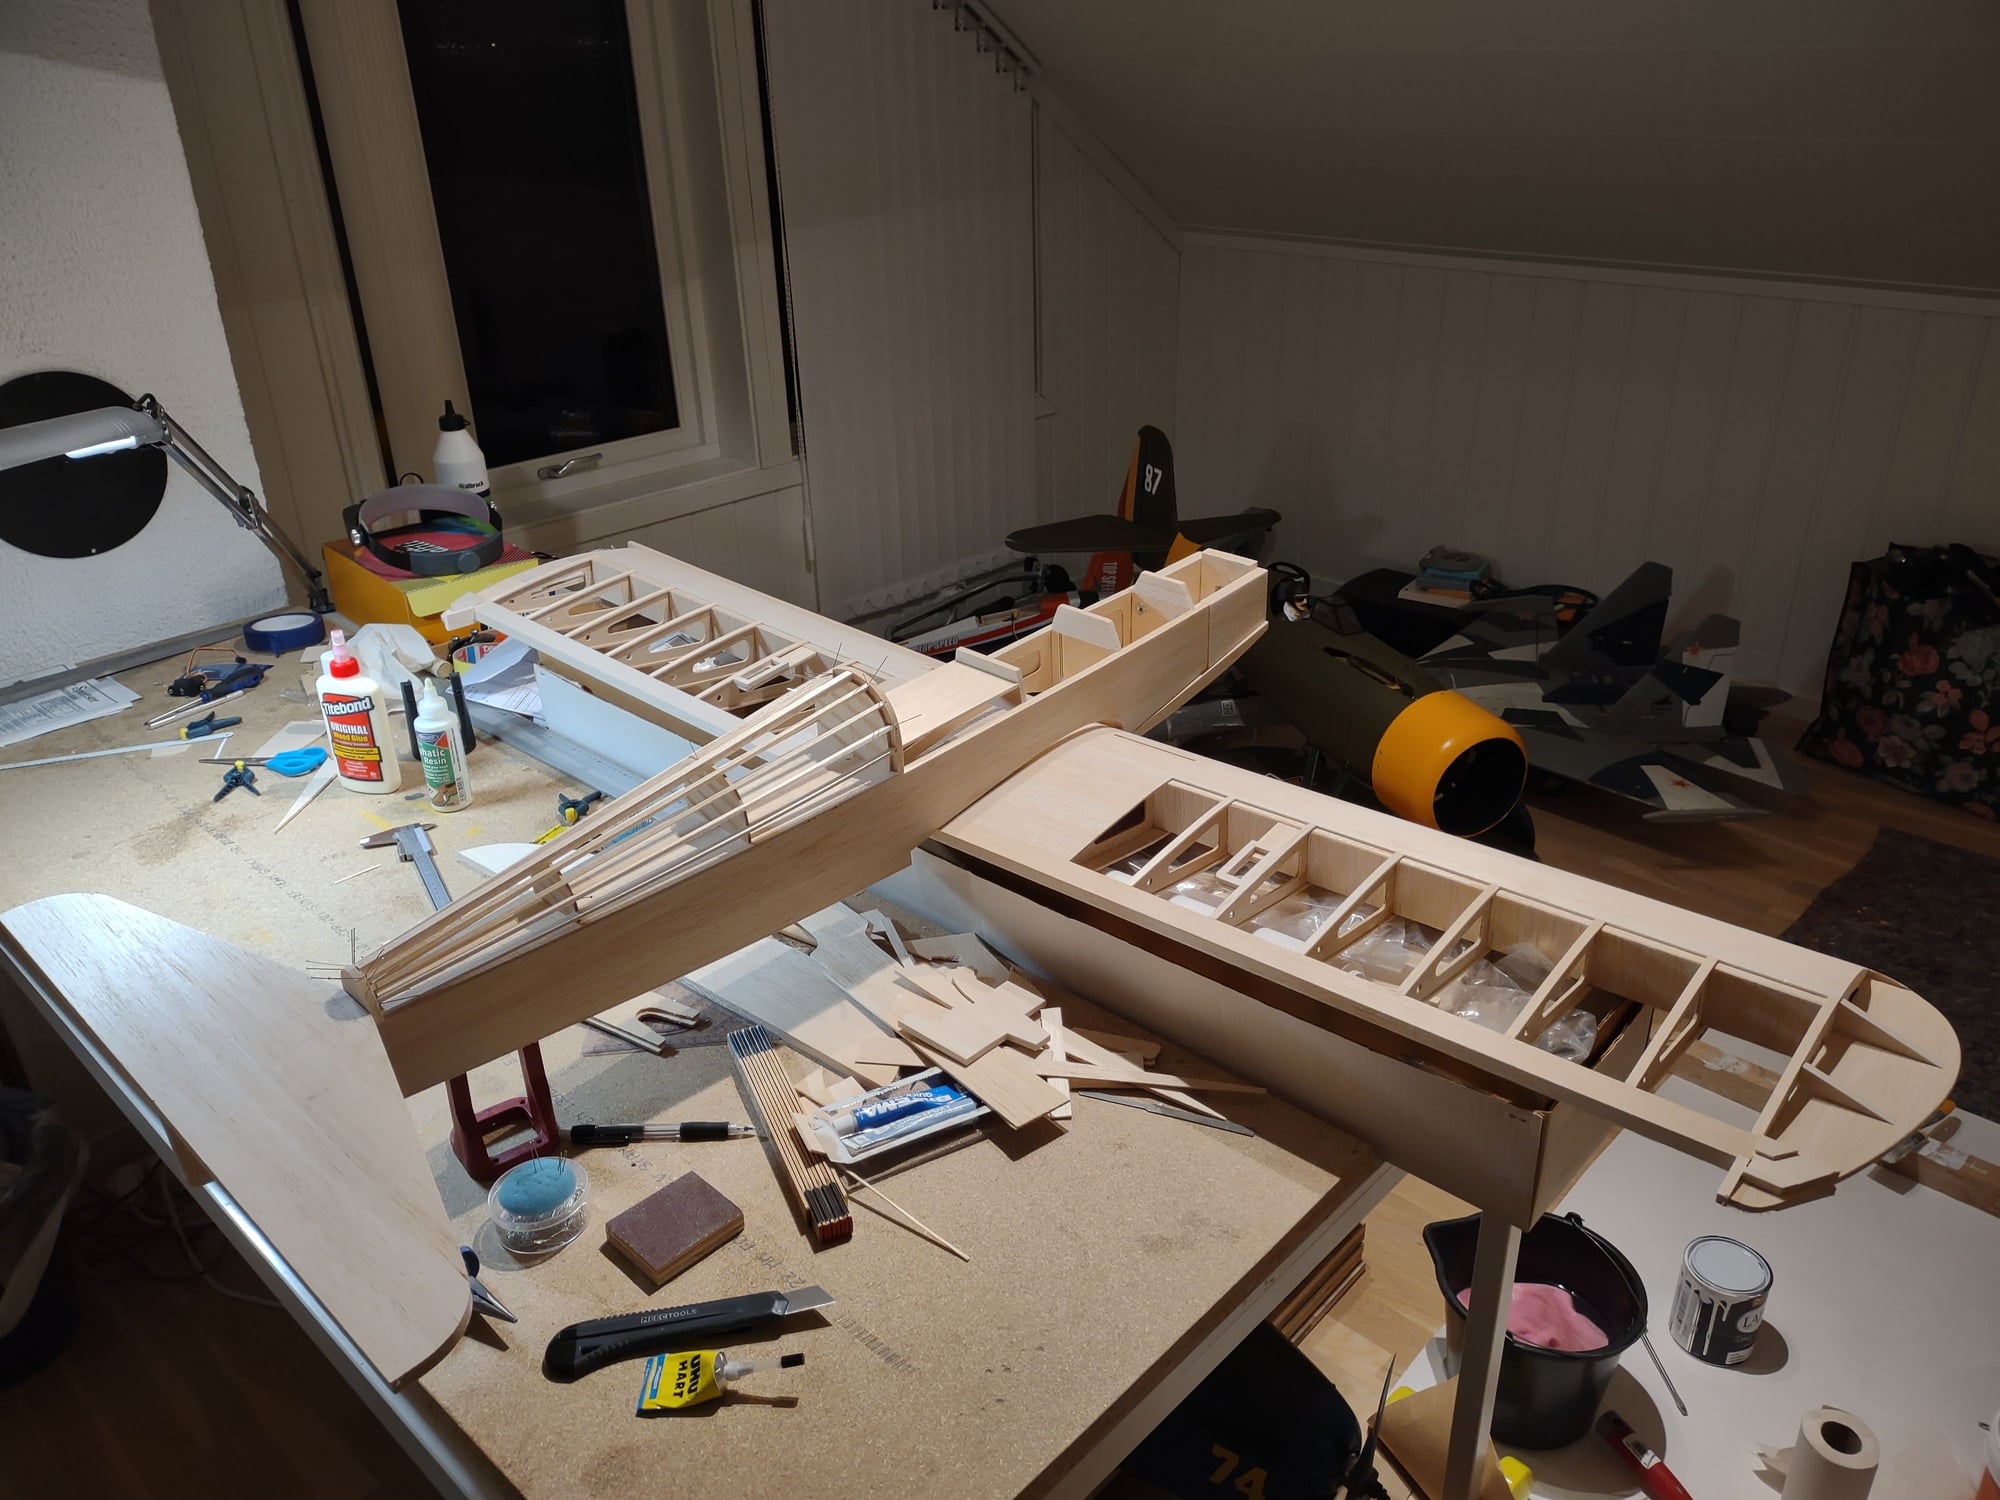
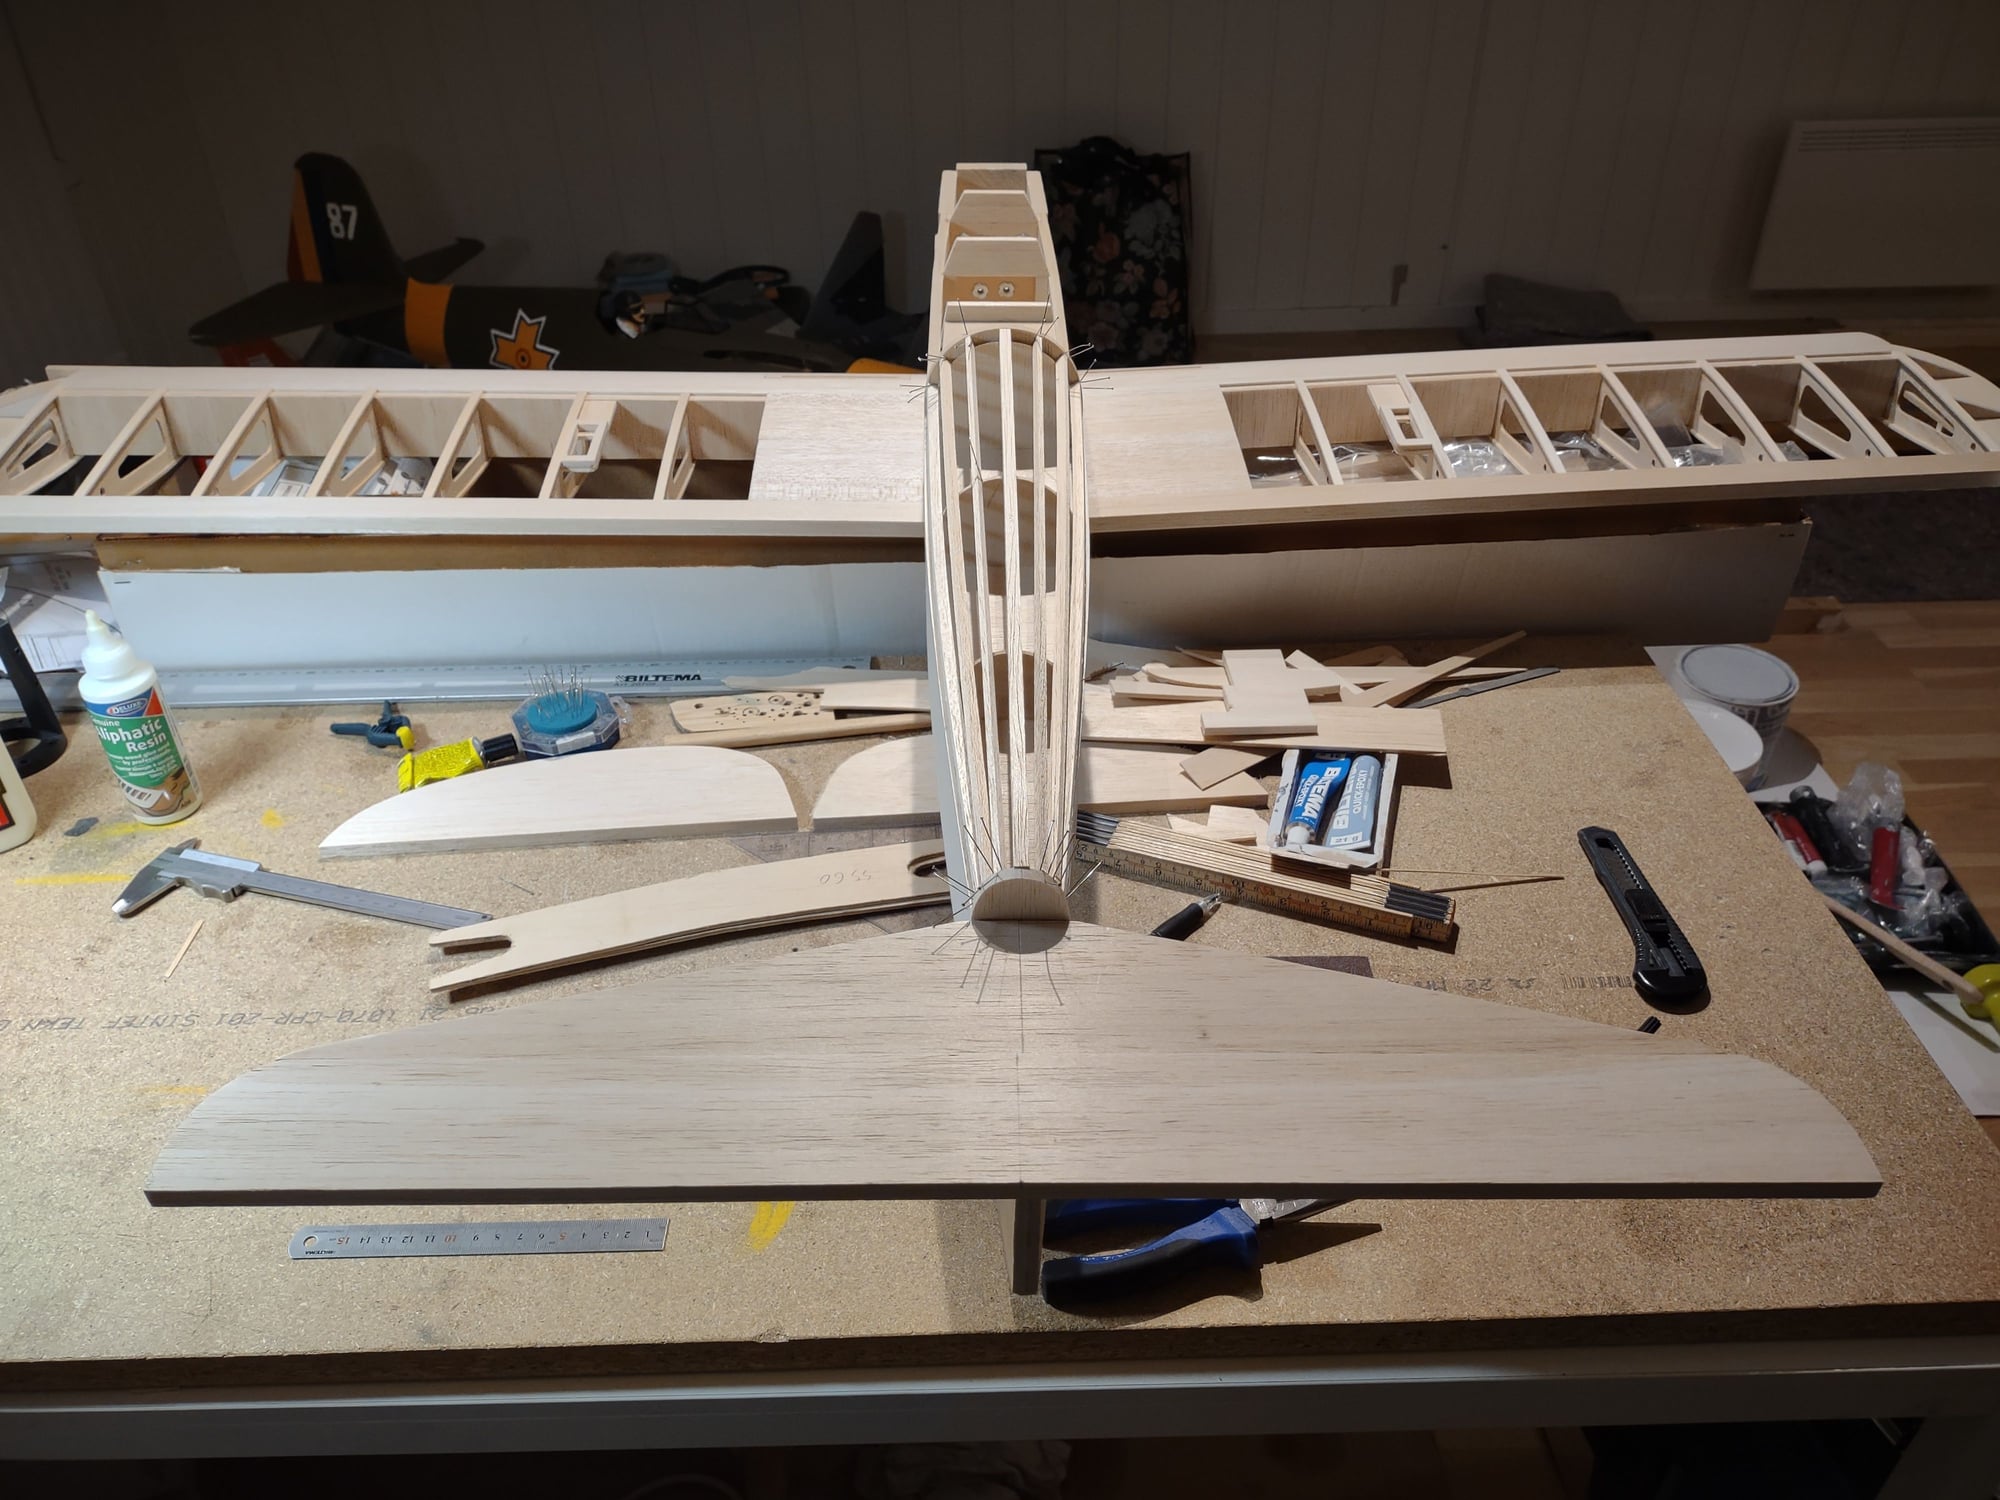
Wing panels more or less completed except for the ailerons and sanding. The wings are laying upside-down on the pictures, just as a note I have moved the aileron servos out in the wings, using two midi servos instead of one in the center.
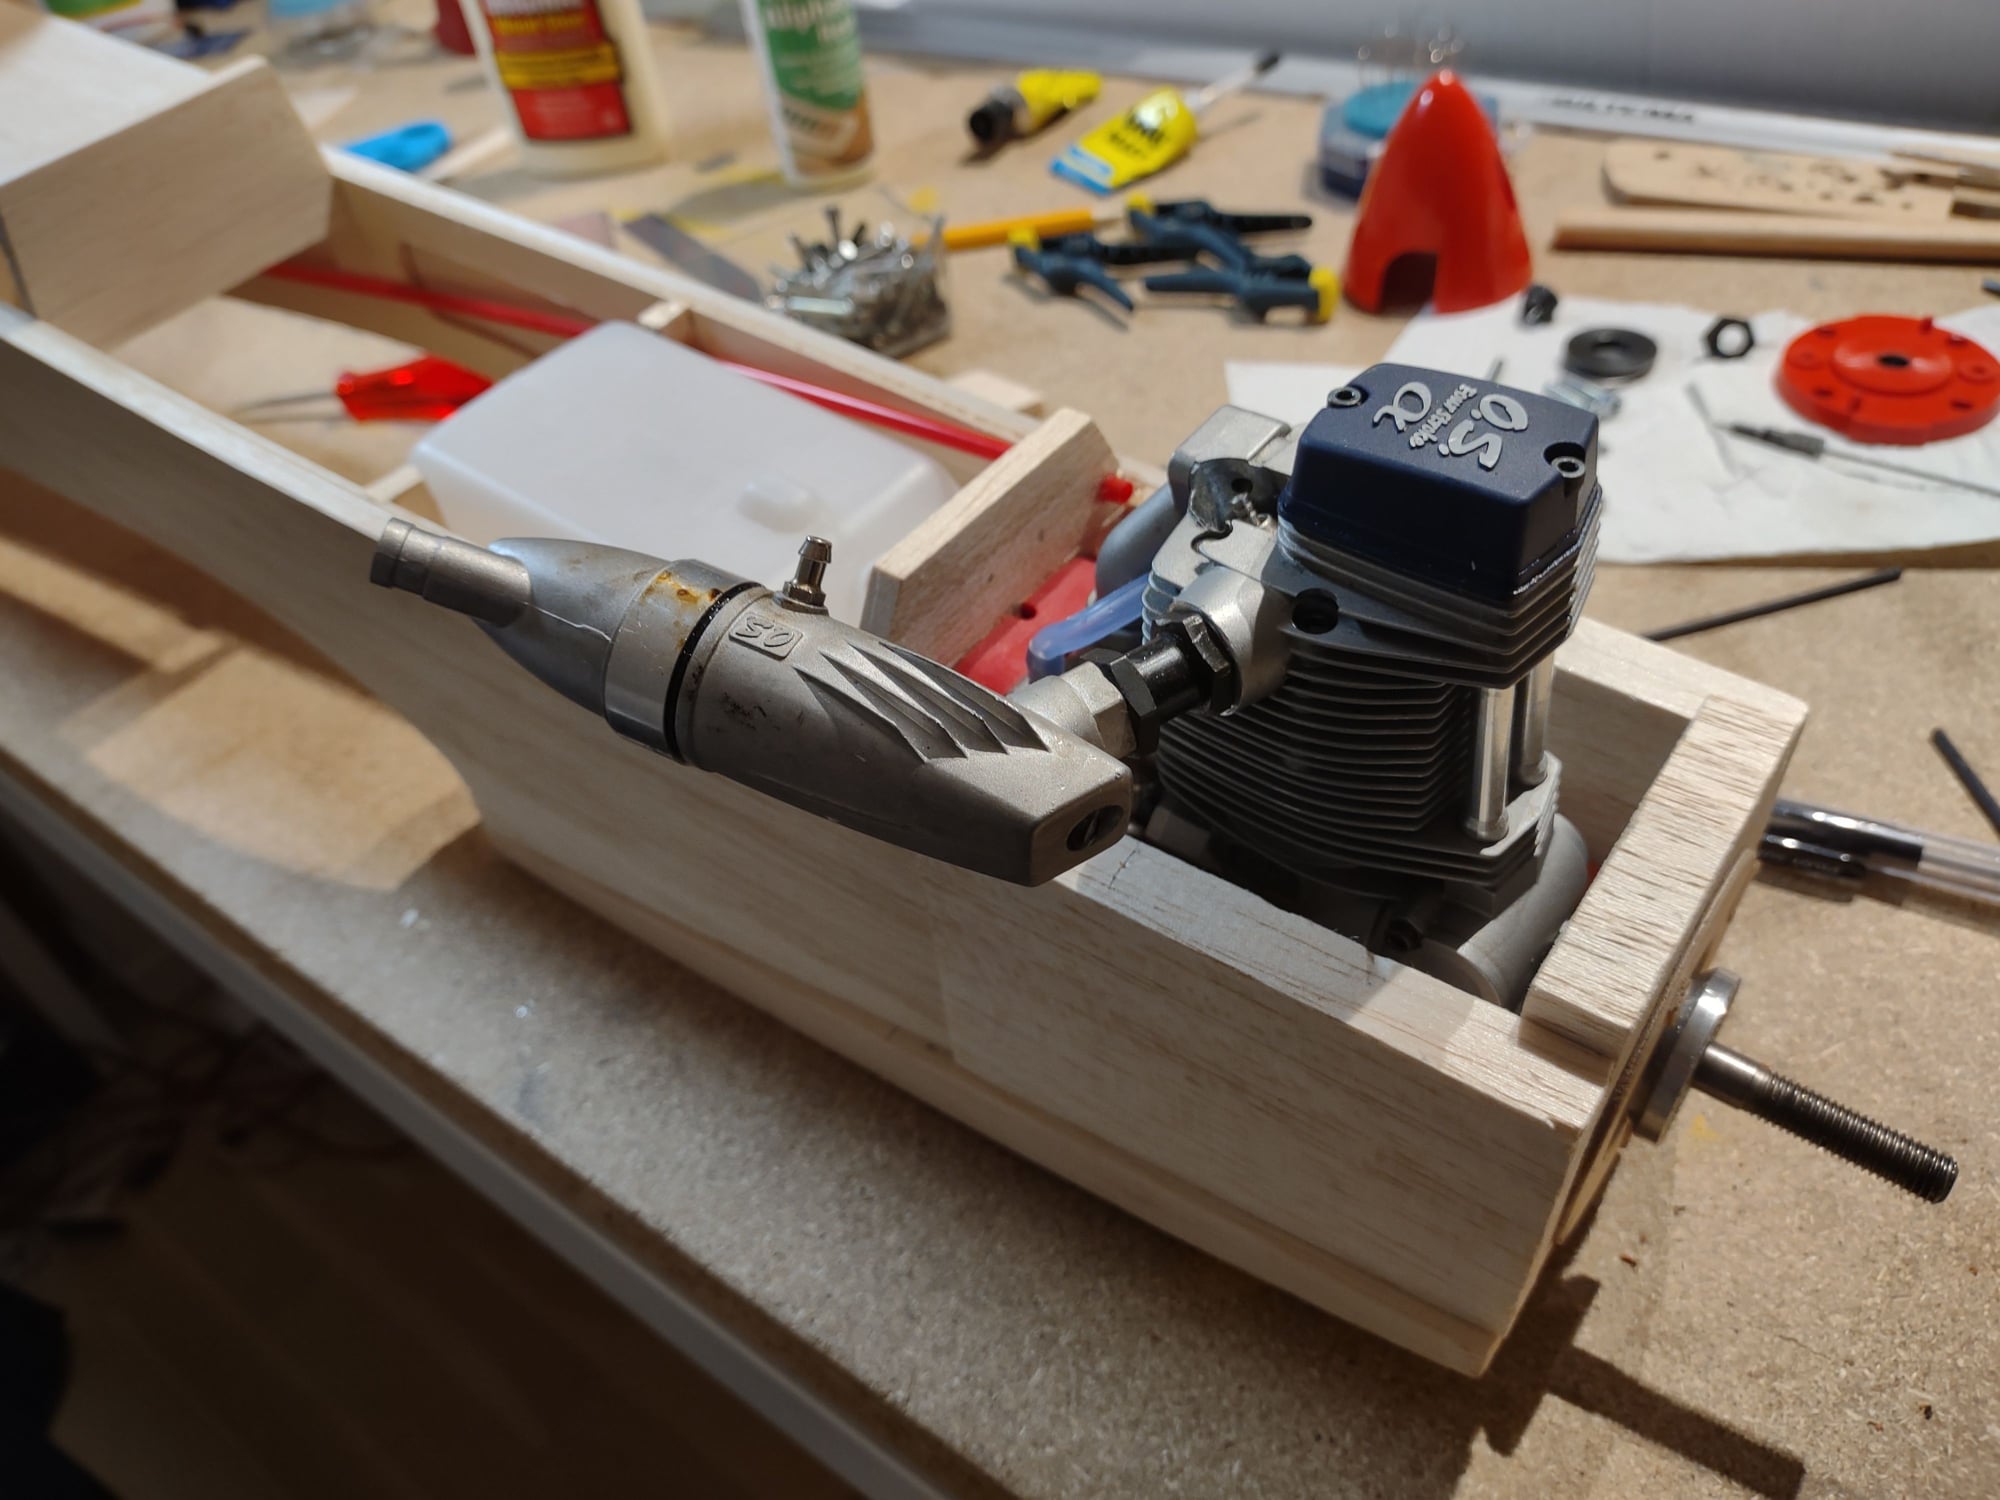
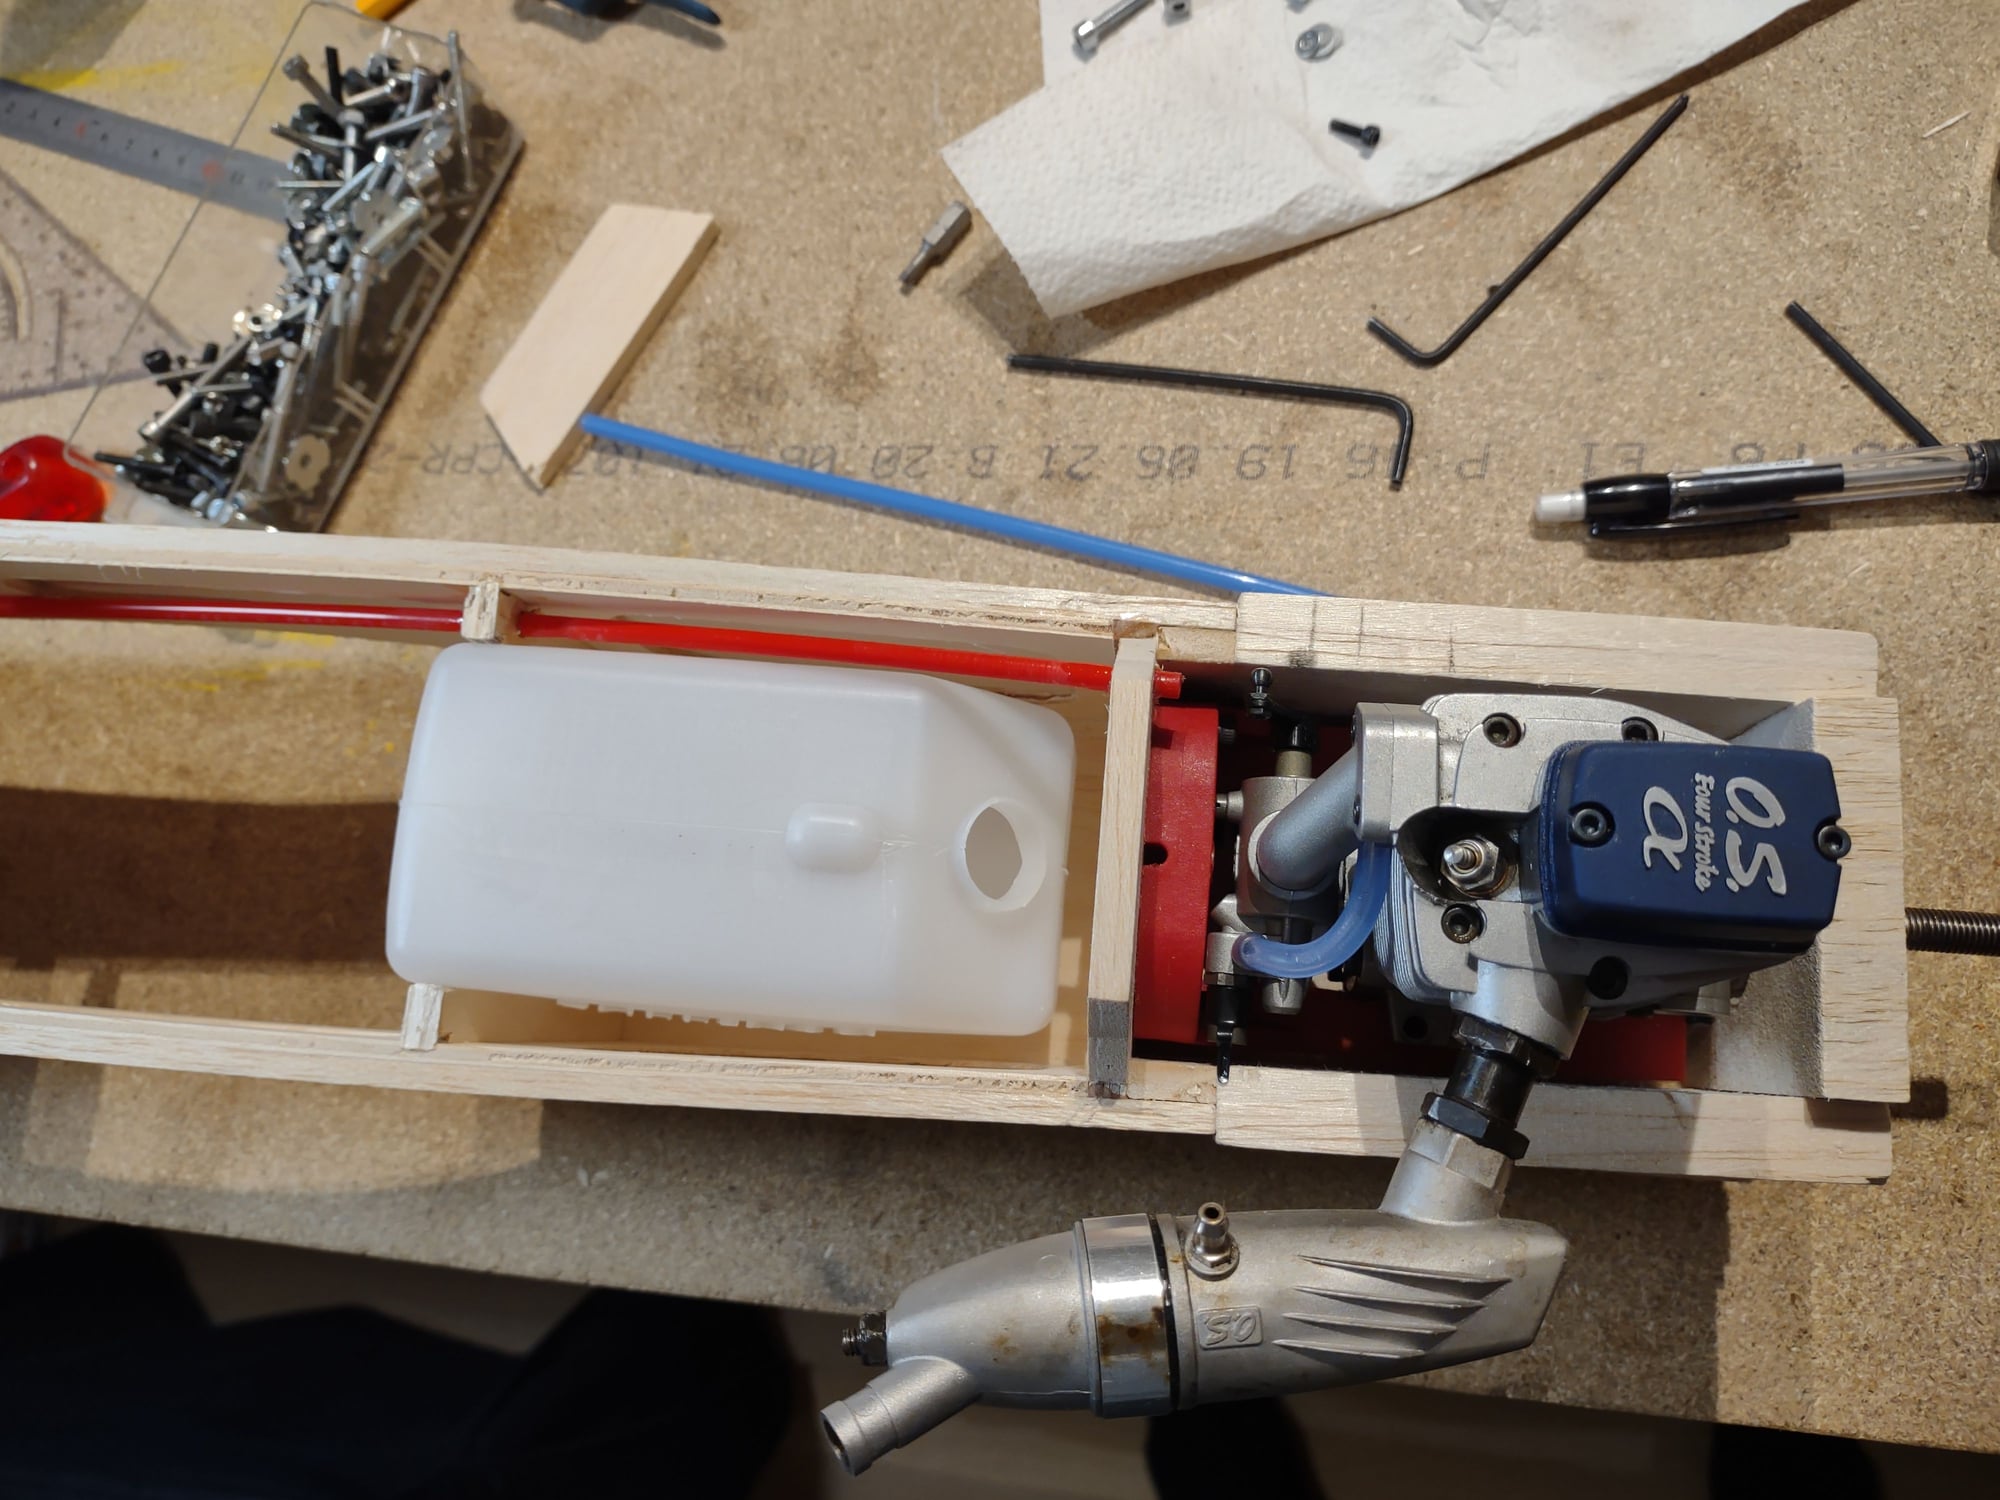
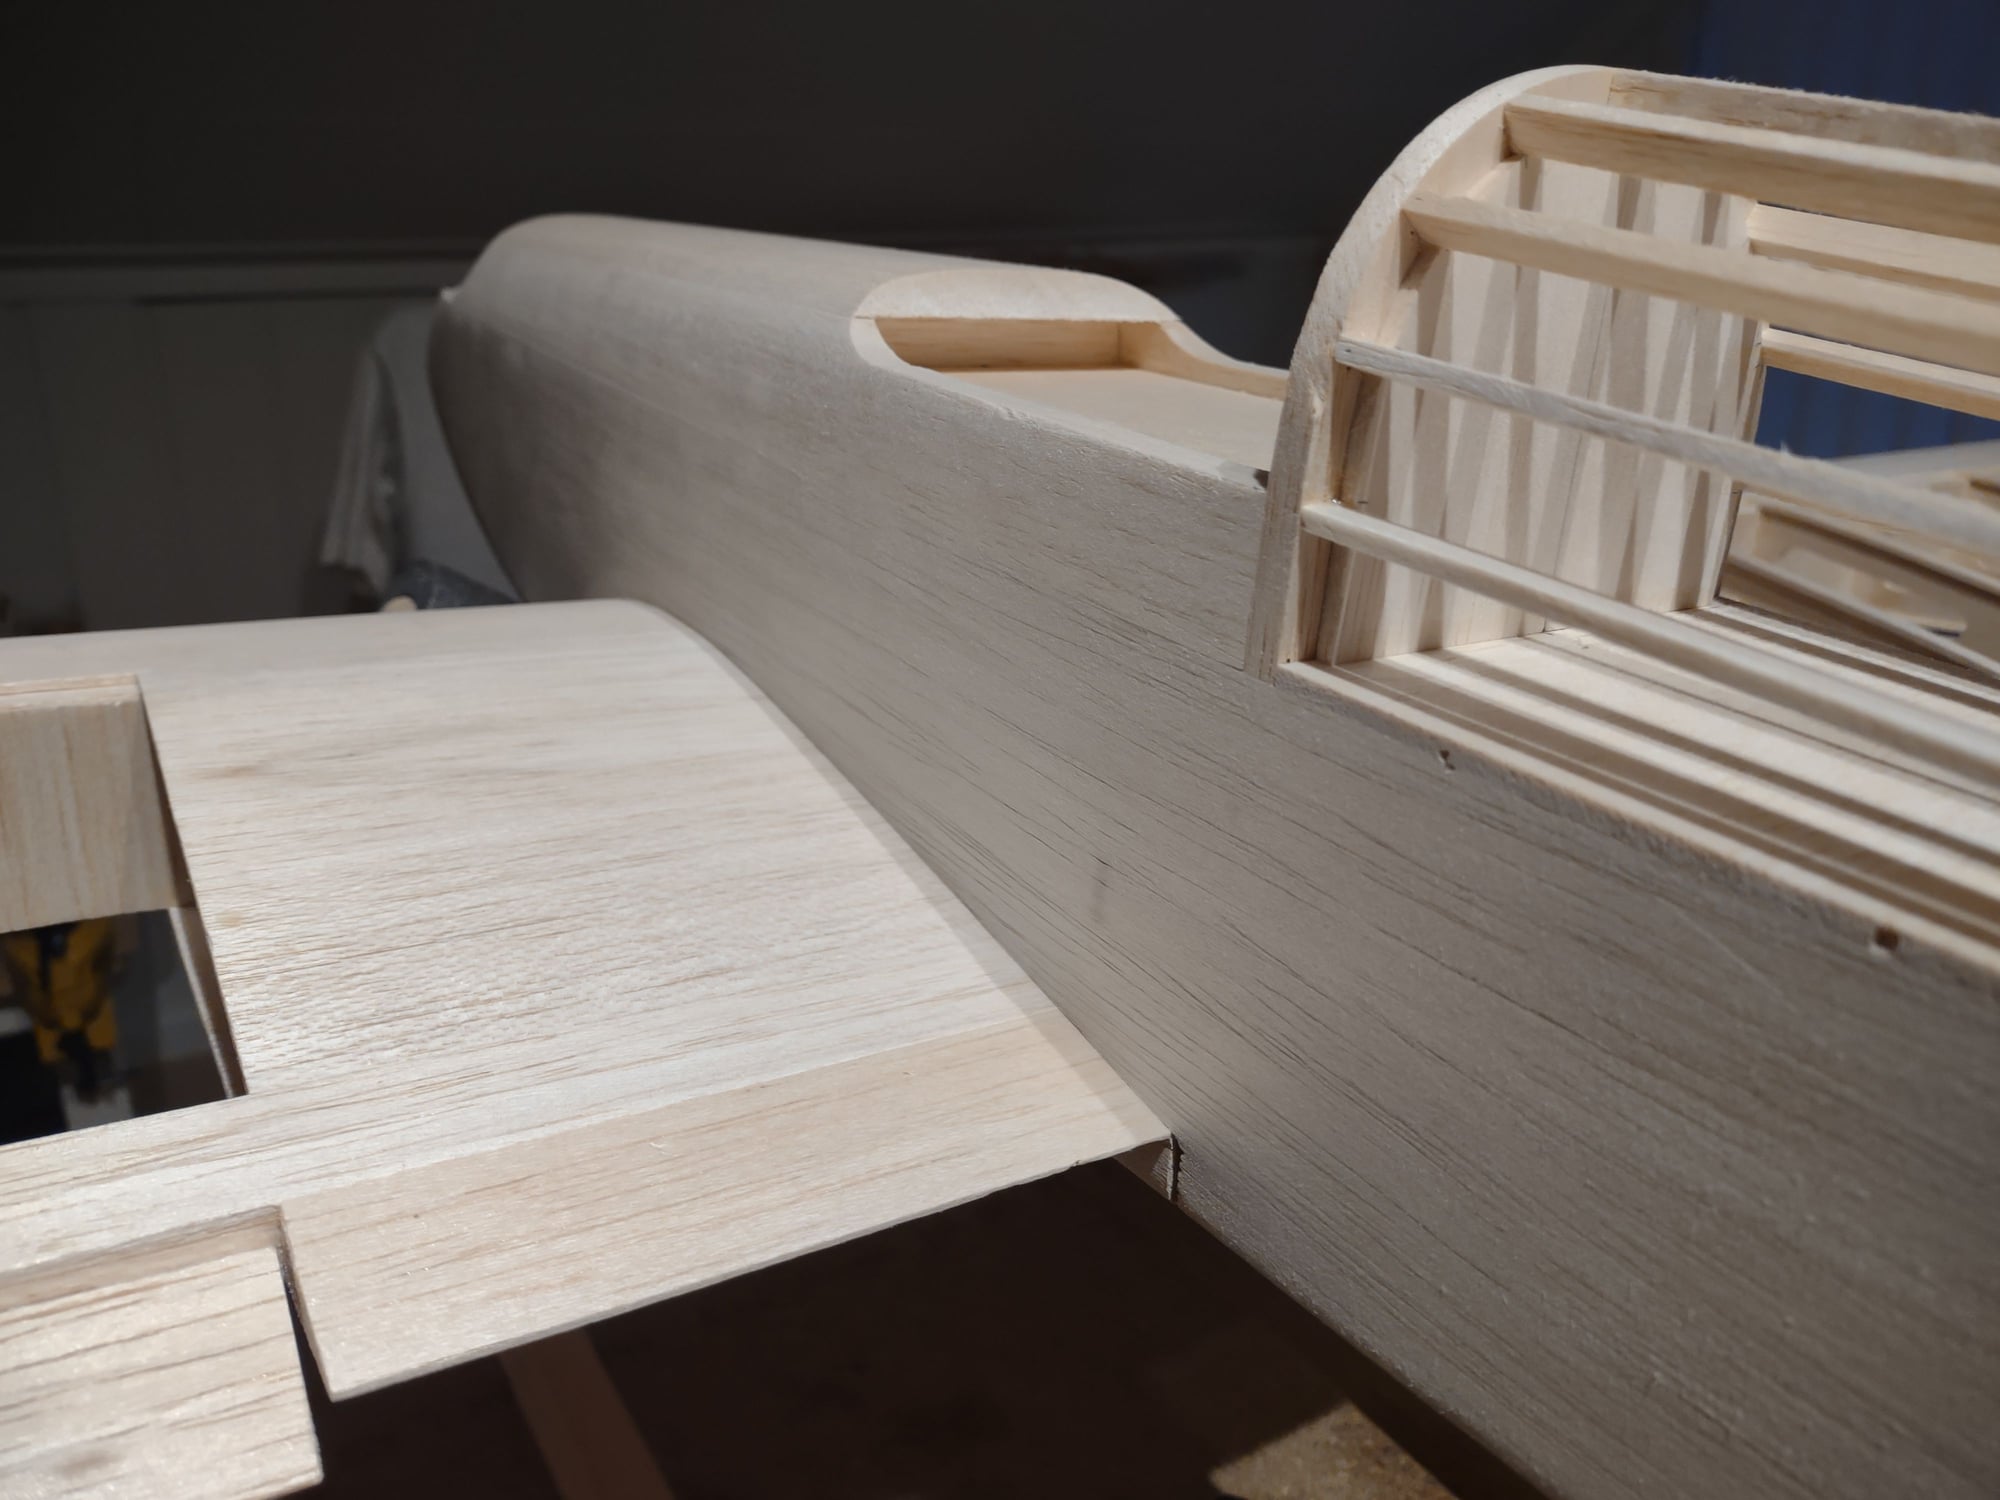
I am at the moment working with the engine installation. This also shaping up nicely. I actually started building the fuselage nearly 2 decades ago. Firewall was already then moved back to accept a 4stroke and engine mount mounted and drilled and airframe adjusted for an OS FS91. Not much adjustments are needed to make the OS @81 fit, but had to replace the mount and do other cut-outs for needle valve etc. The @81 will have more than enough power and is a portion lighter than the FS91. To be honest, I think the .91 would be to brutal and heavy.... (or its just me getting more "mature"...
The only thing I have noted, is that this plane is not set up with any down and right thrust. Concervative-vise, it should be... any thoughts around this?
More to come
Thanks for the replies! I guess we all have good memories from these planes. Back in the days when balsa and glow was the thing, I had a SS20 with an OS32 in its nose. It was covered in red with yellow trim like on the box. A nice little plane. It went like a rocket and of course got crushed at a point. The wing was not badly damaged, so it was saved. A few years later I repaired the minor damage on the wing and scratch built a new fuselage. This time it was covered in white with red trim. Flew nicely but had a serious crash in the end. I still have it and it is repairable but have been laying around for 20 years now. You can see its wing in the background of my first picture.
But now, its the building of the SS60 thats hot. Things moving slowly, as usual, but are shaping up nicely:
Wing panels more or less completed except for the ailerons and sanding. The wings are laying upside-down on the pictures, just as a note
I have moved the aileron servos out in the wings, using two midi servos instead of one in the center.I am at the moment working with the engine installation. This also shaping up nicely. I actually started building the fuselage nearly 2 decades ago. Firewall was already then moved back to accept a 4stroke and engine mount mounted and drilled and airframe adjusted for an OS FS91. Not much adjustments are needed to make the OS @81 fit, but had to replace the mount and do other cut-outs for needle valve etc. The @81 will have more than enough power and is a portion lighter than the FS91. To be honest, I think the .91 would be to brutal and heavy.... (or its just me getting more "mature"...
The only thing I have noted, is that this plane is not set up with any down and right thrust. Concervative-vise, it should be... any thoughts around this?
More to come
Last edited by MrRover75; 02-15-2024 at 12:29 AM.
02-19-2024, 01:48 AM
#11
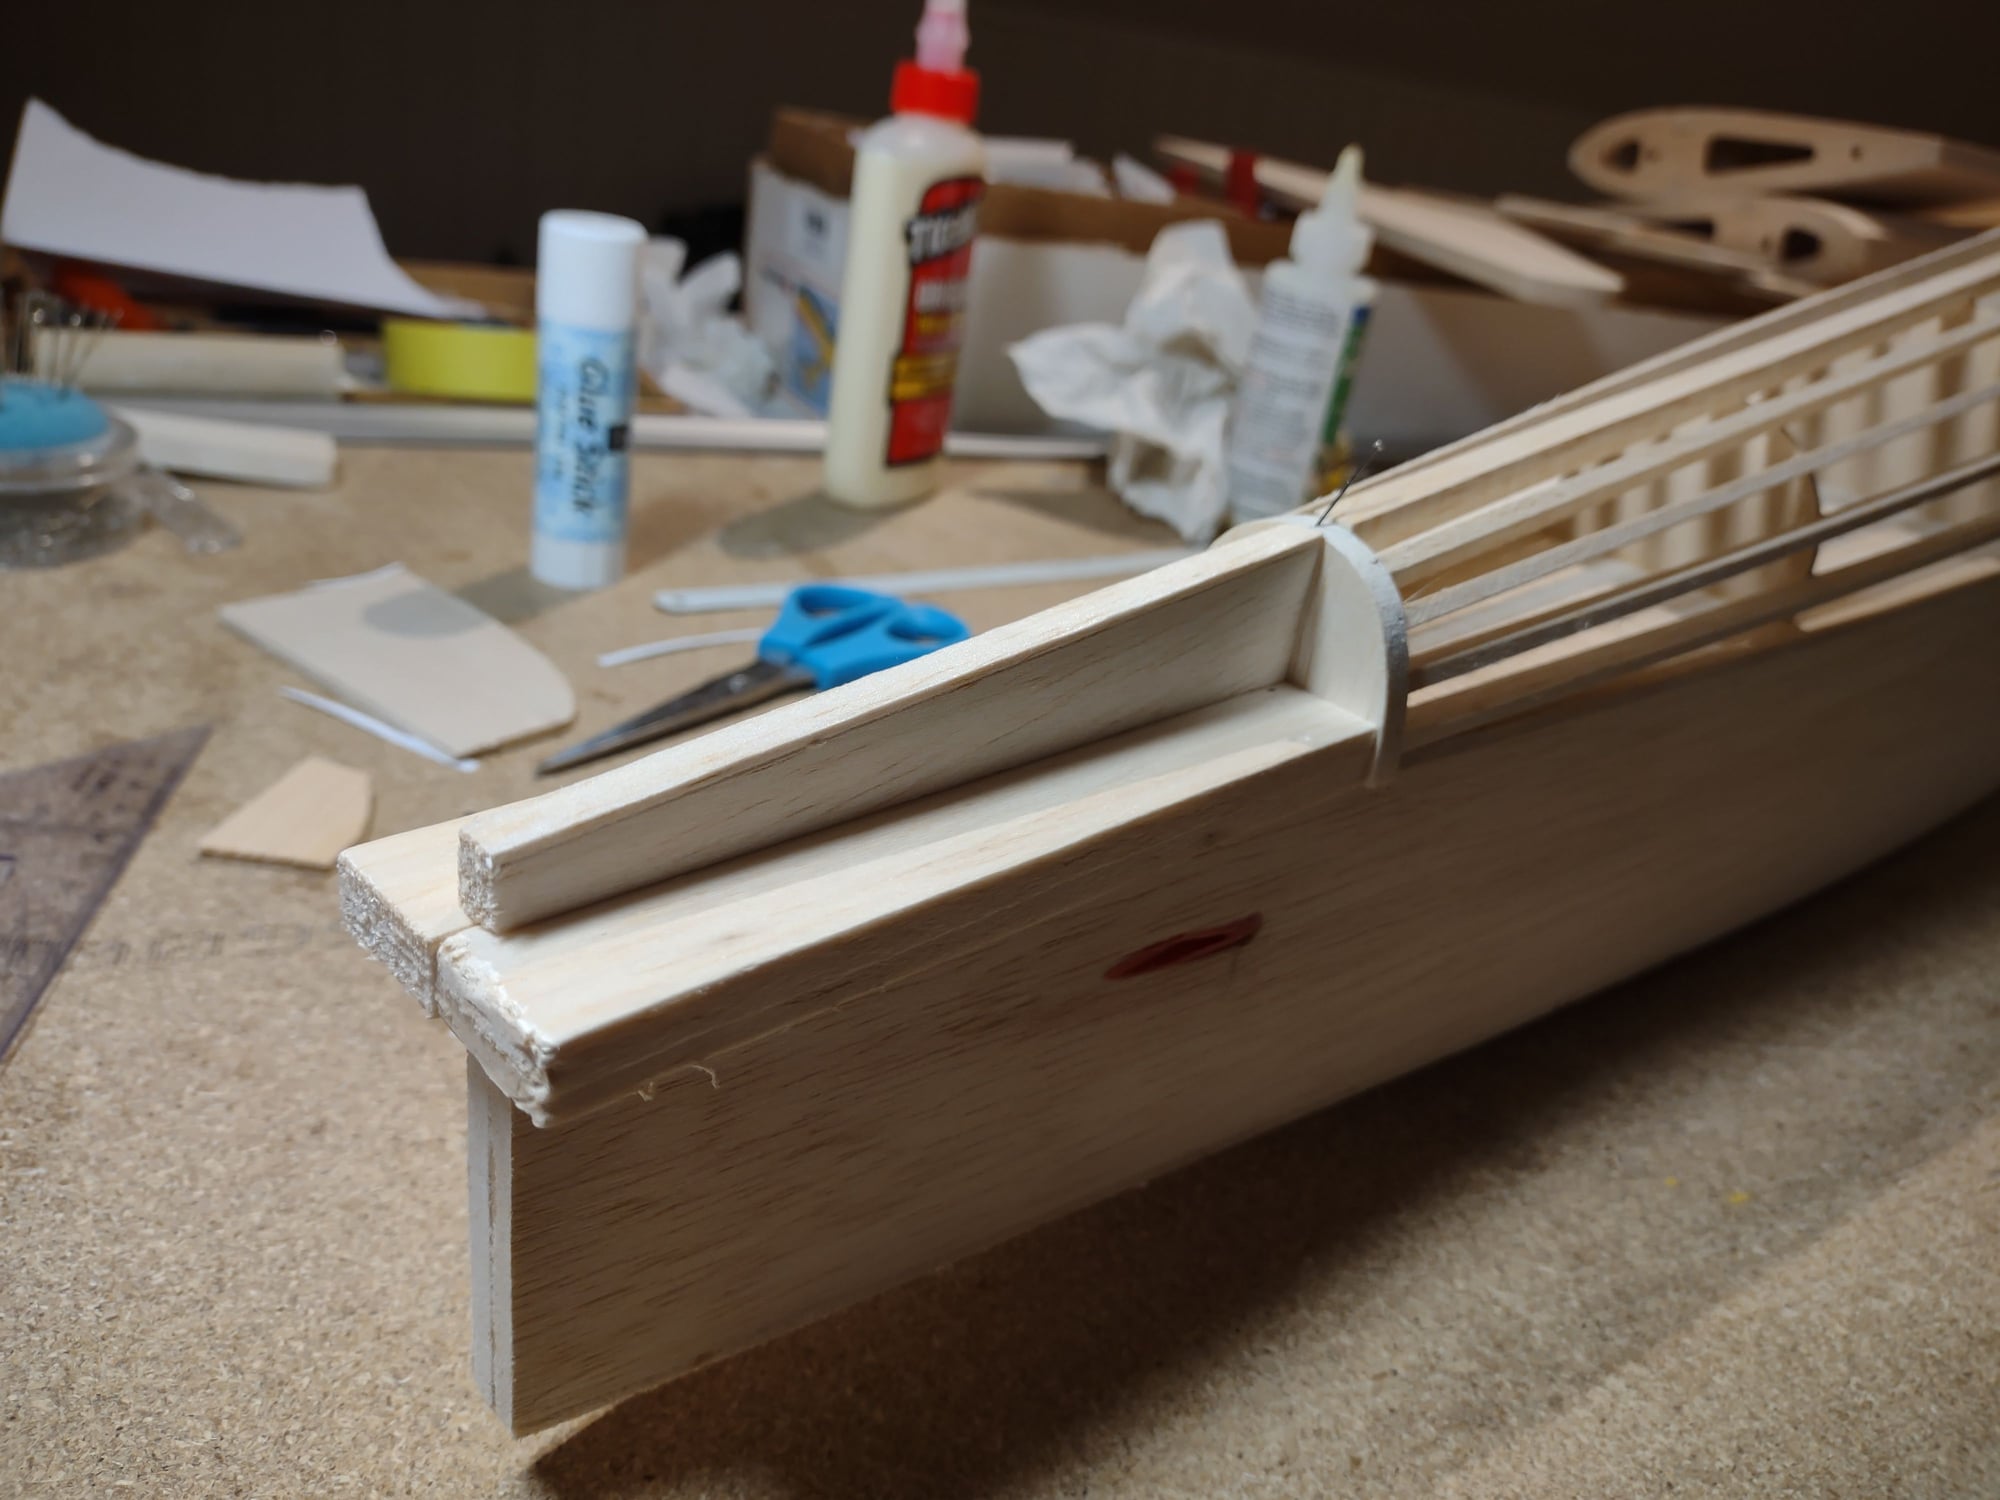
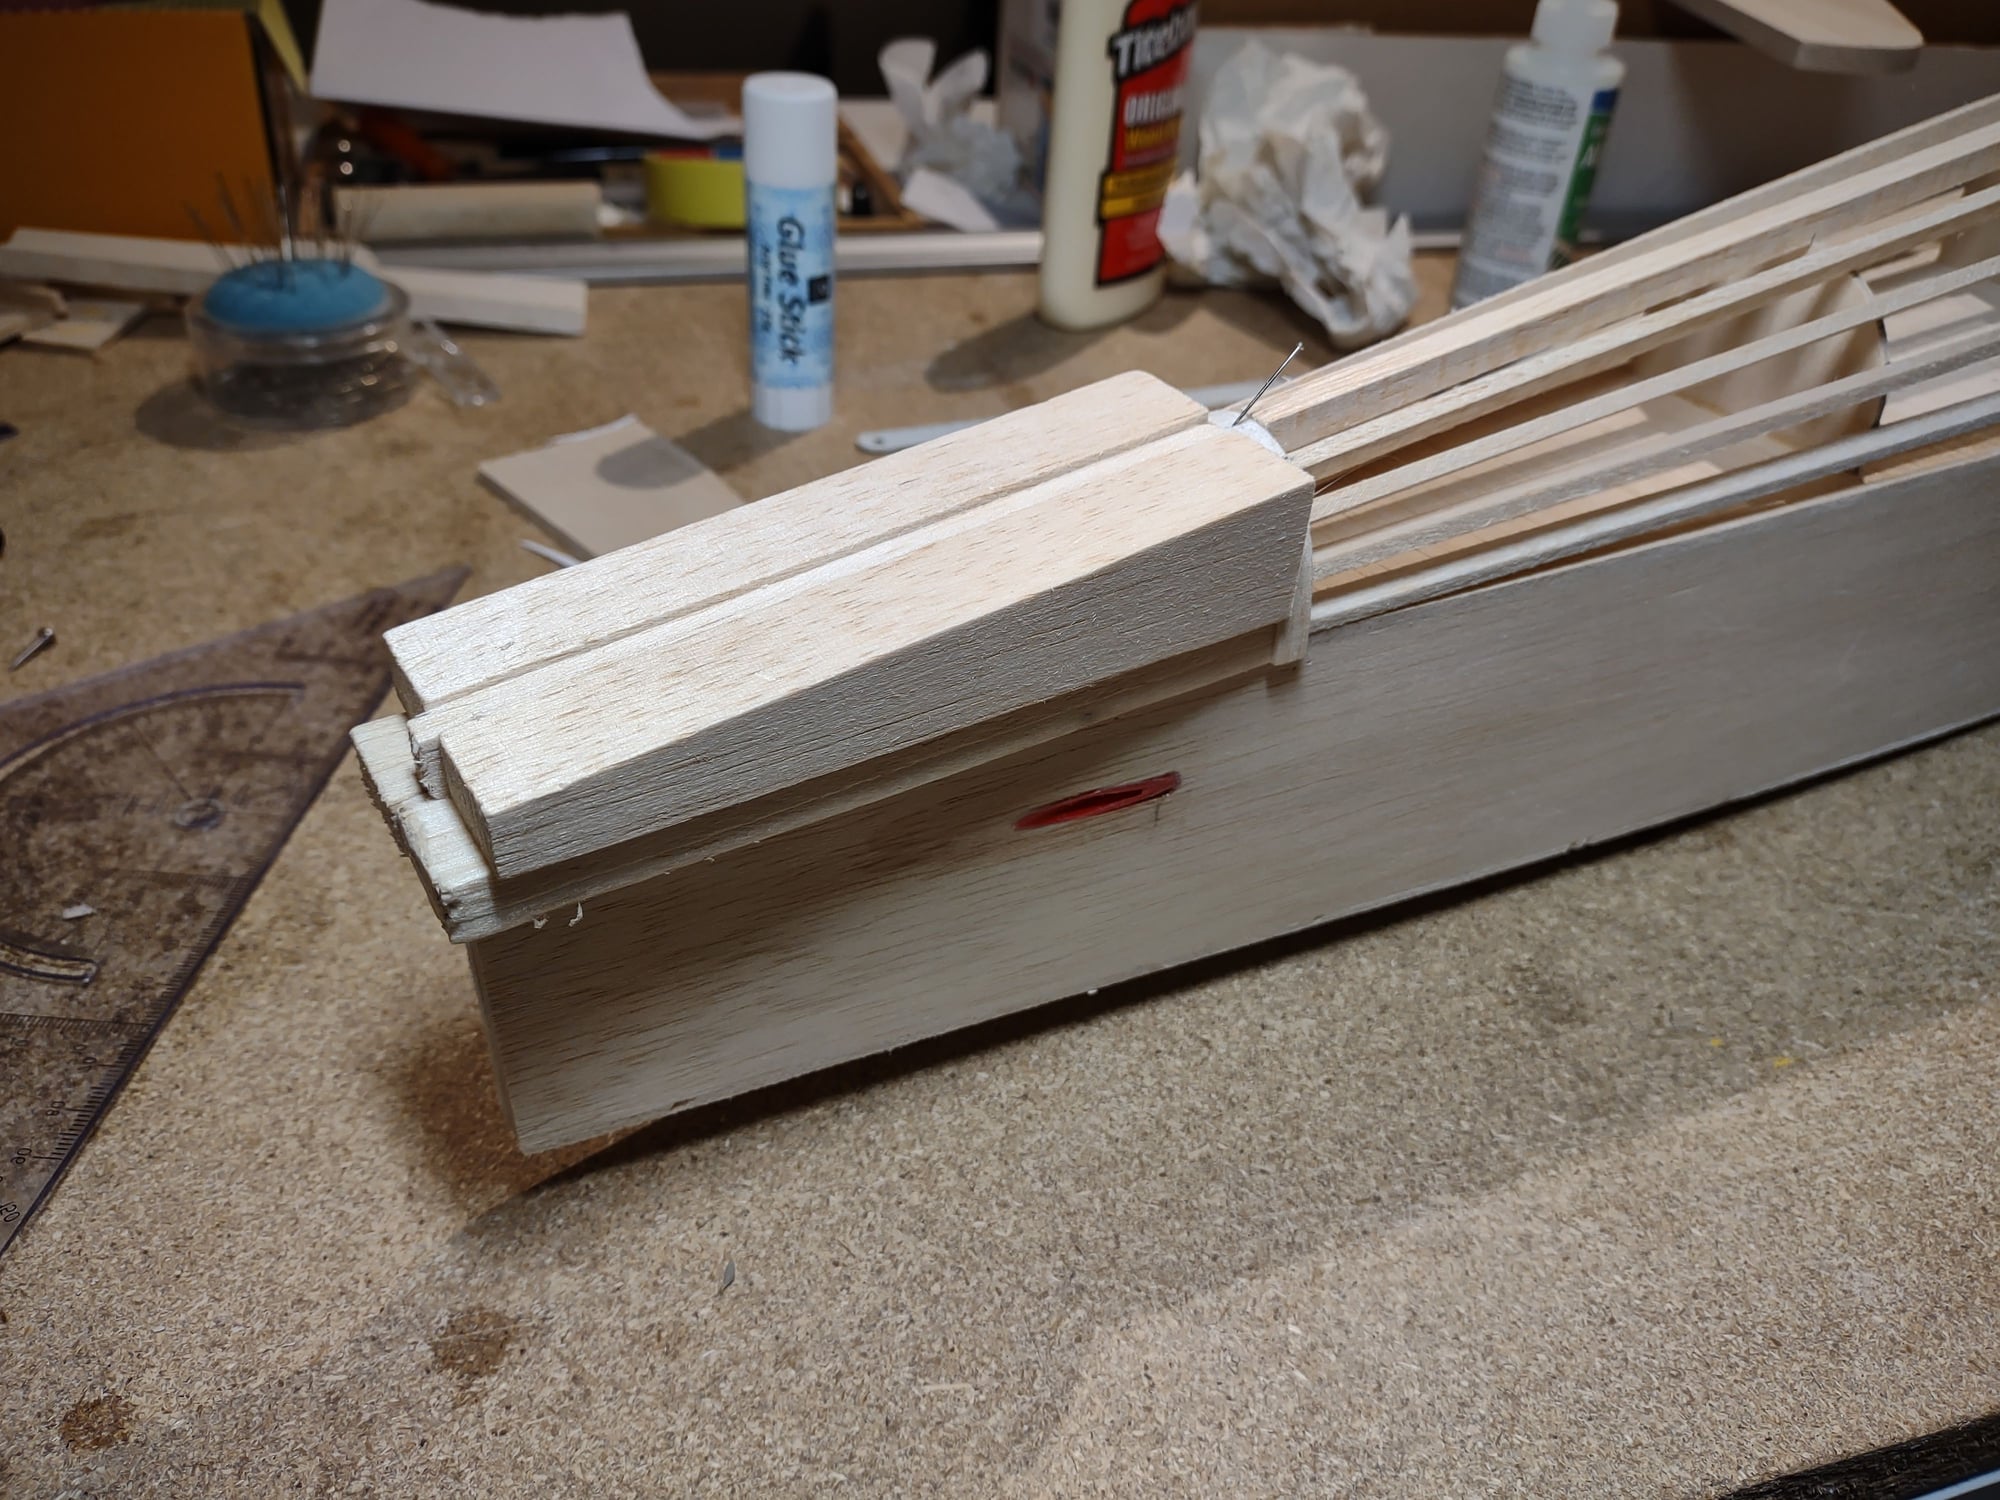
I have a habbit of making a "dummy stab+fin" tack glued to the fuselage together with the fairing blocks. I can then sand the fairings to shape in place. The remove the "dummy tail", cover the model and mount fin + stab. I will post some pics of this when I get that far.Here are few pics of the engine installation I am working on these days:


 04-29-2024, 03:49 AM
#16
Hi,
Have not decided yet. I have 3 rolls of monokote. 2x maroon and 1x tan. I guess they are pretty old, so hope they still does the job. Some mixed experience with applying old monokote. I can go for the typical SS trim with these colours, but thinking of using the maroon on the underside and tan on the upper side with some trim... Time will show
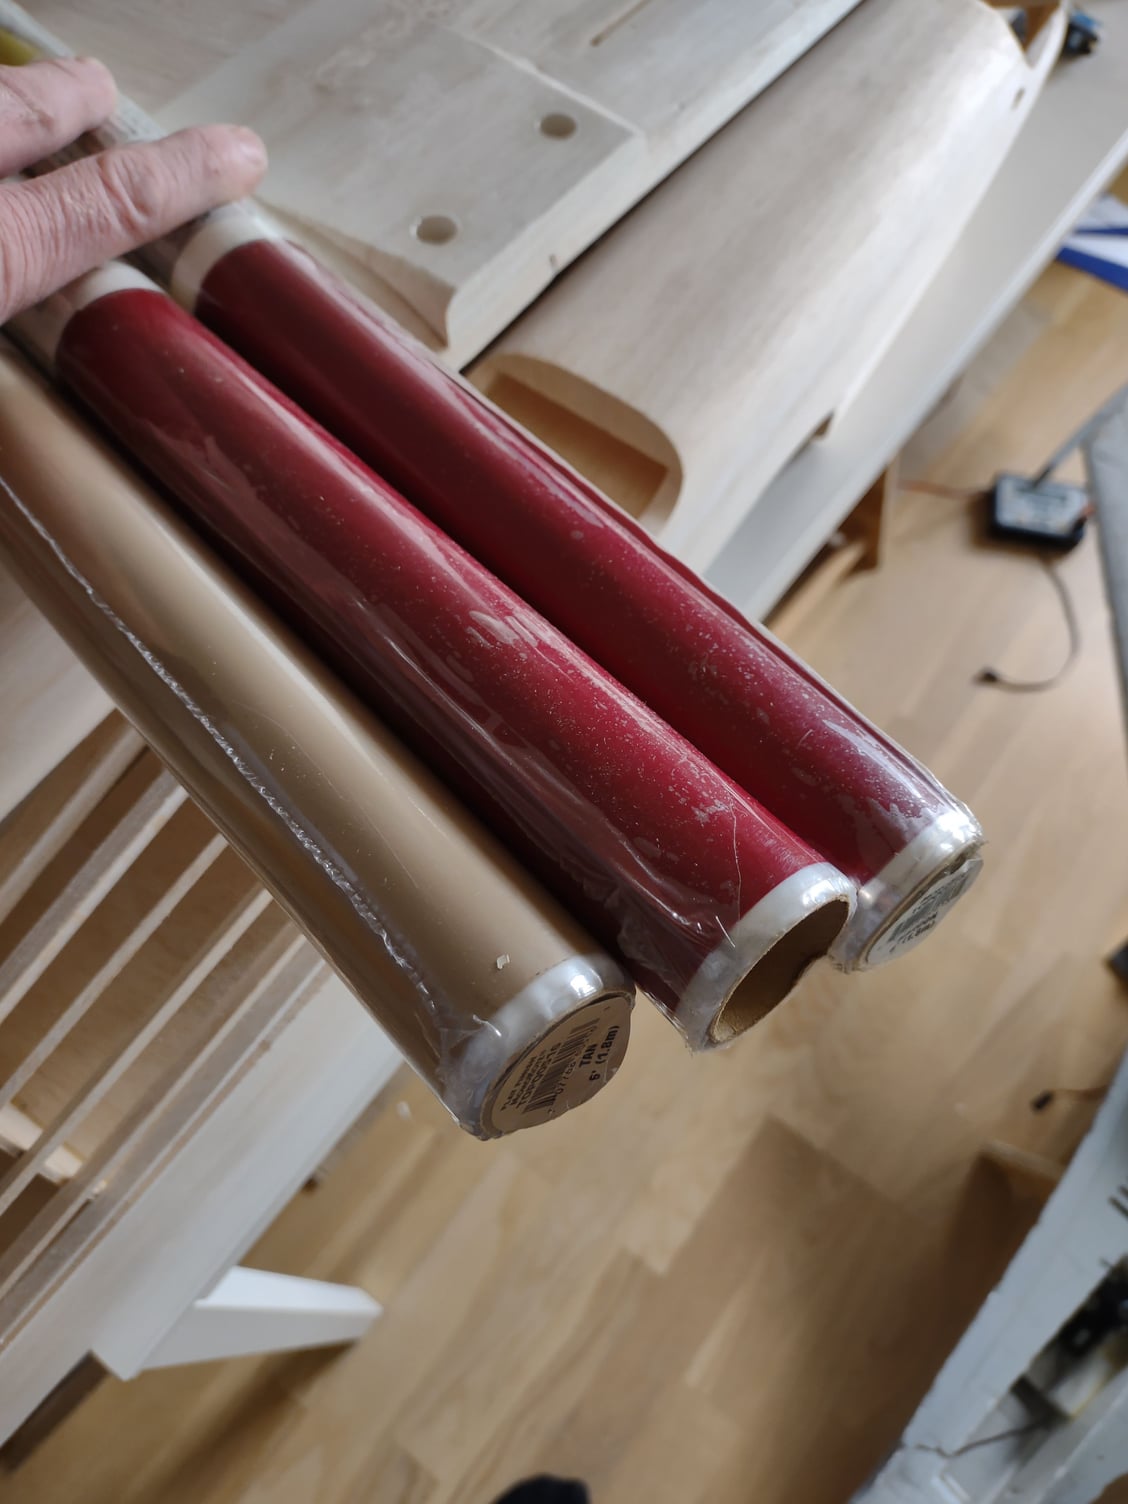
Have not decided yet. I have 3 rolls of monokote. 2x maroon and 1x tan. I guess they are pretty old, so hope they still does the job. Some mixed experience with applying old monokote. I can go for the typical SS trim with these colours, but thinking of using the maroon on the underside and tan on the upper side with some trim... Time will show
 05-02-2024, 11:55 PM
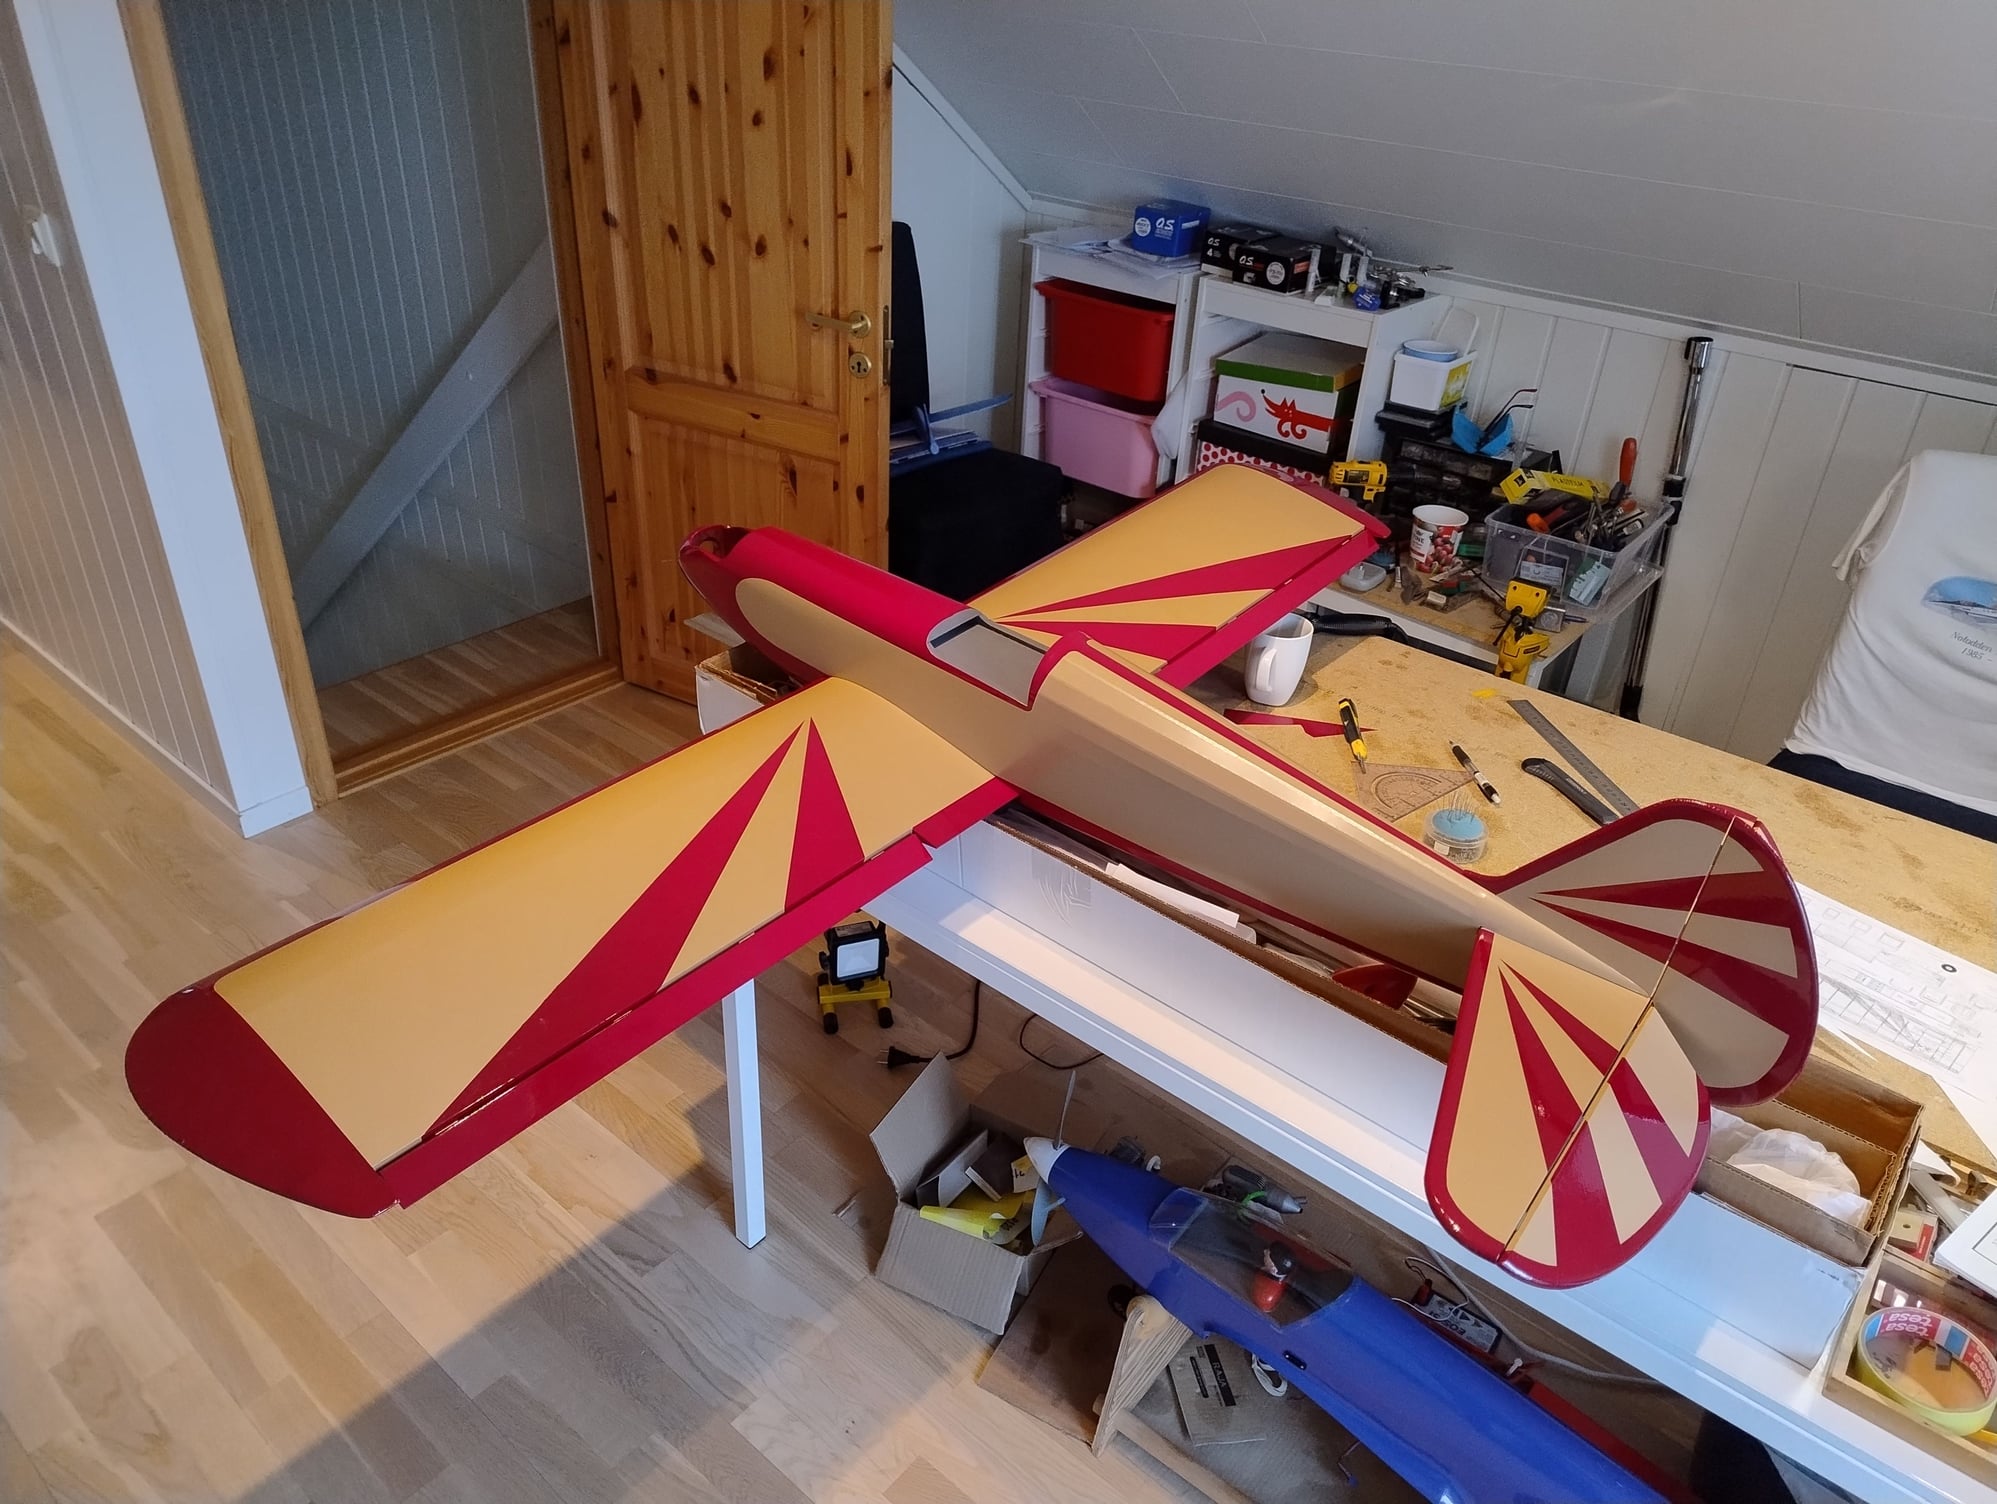
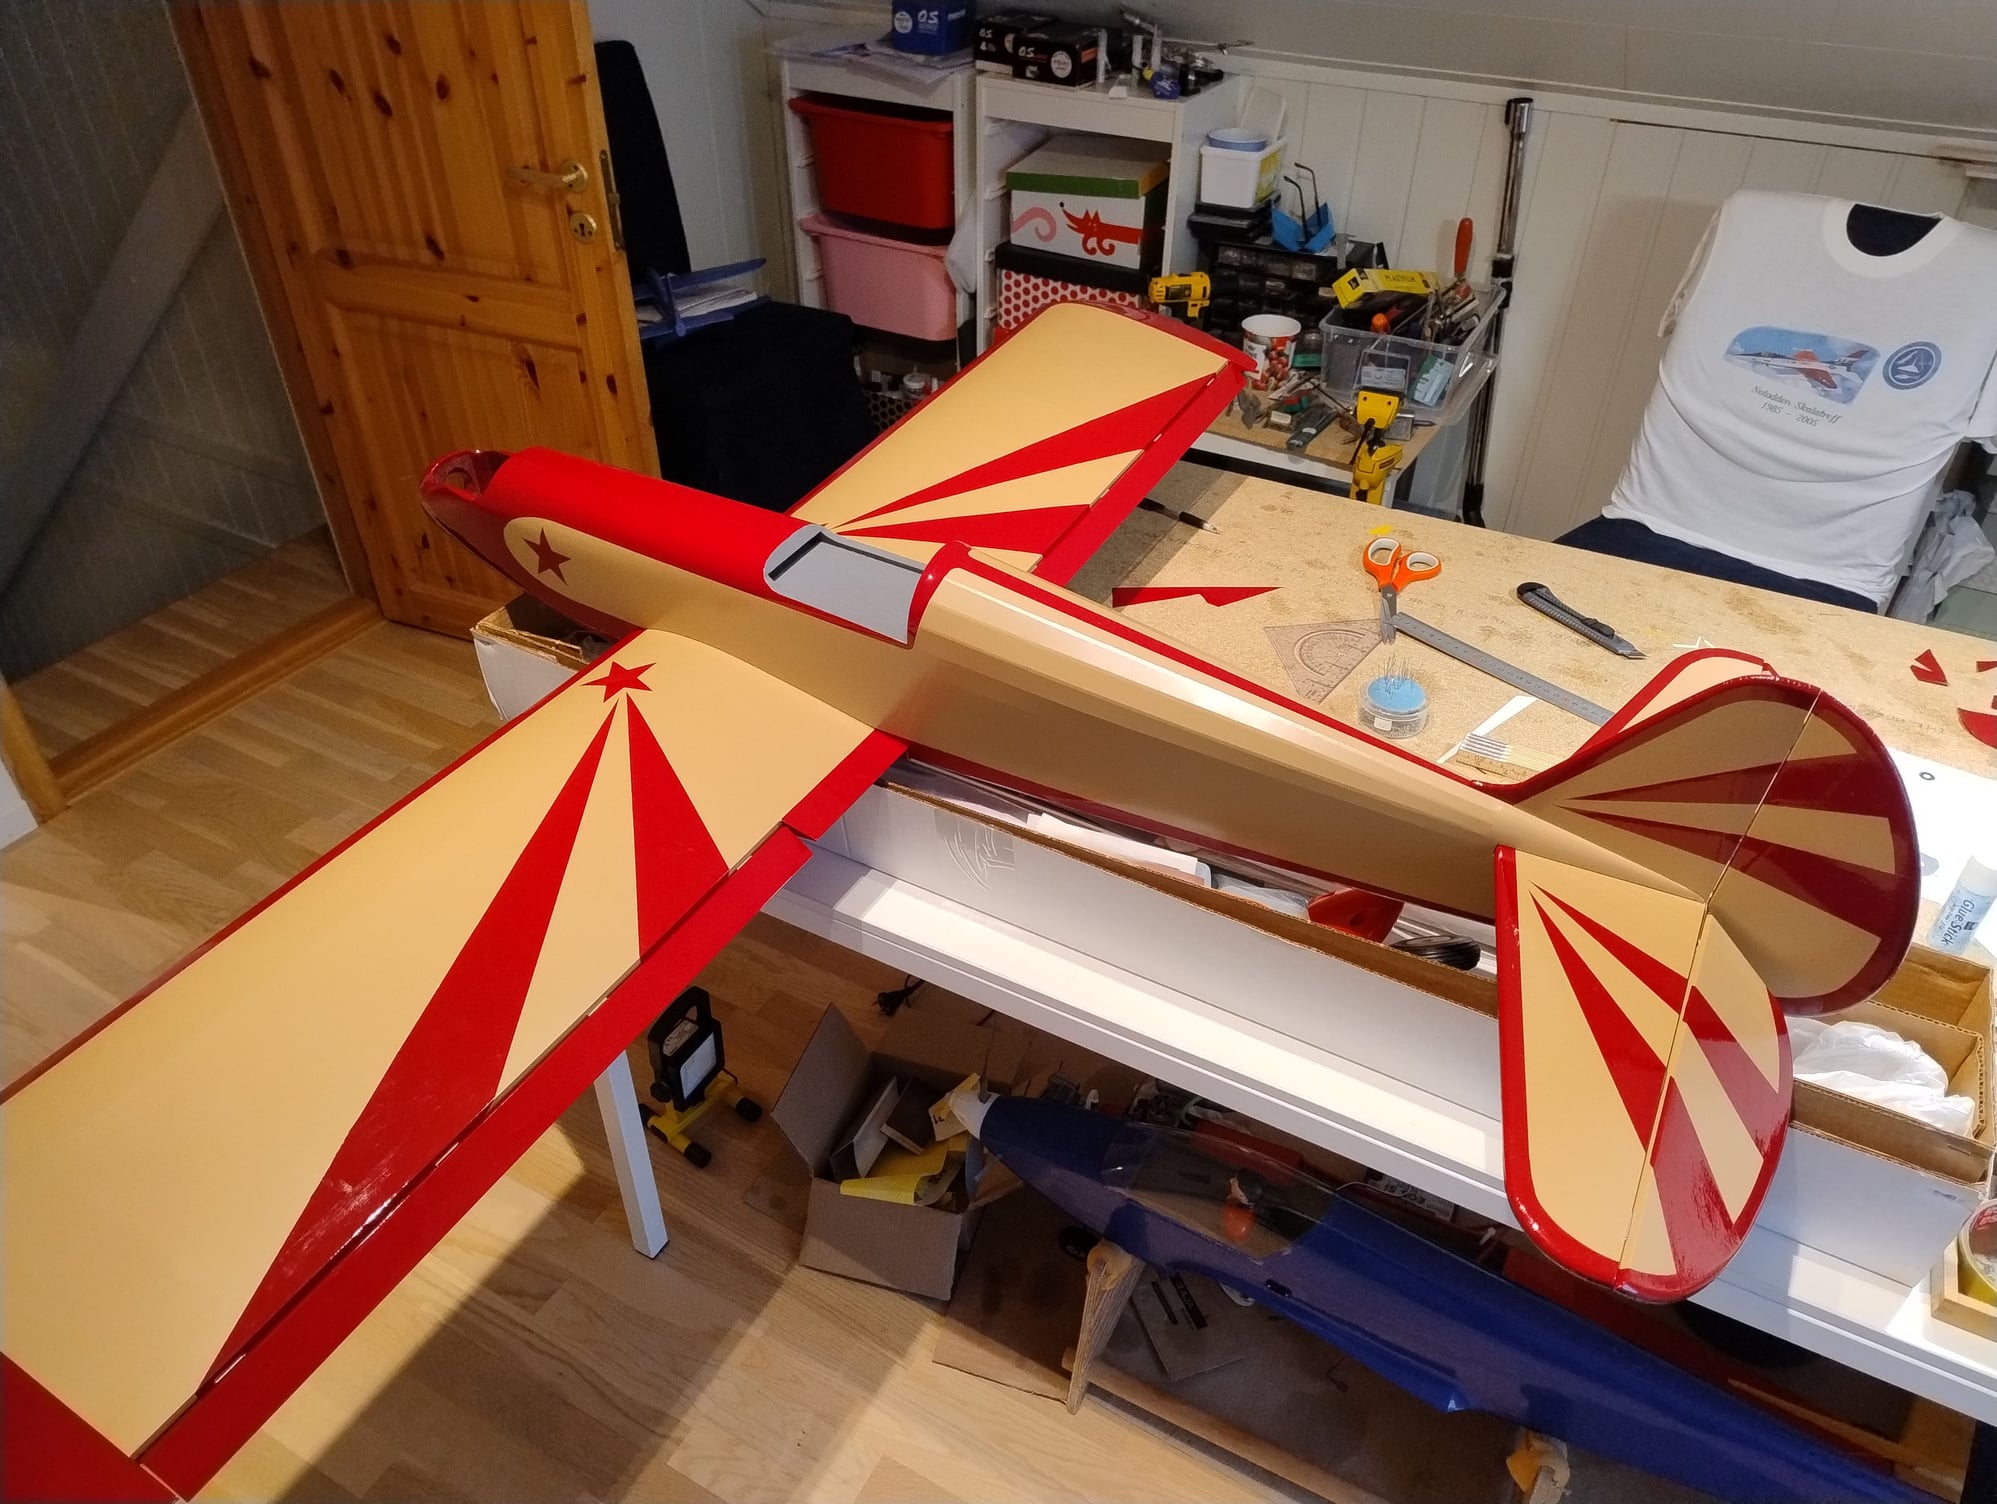
#18
The Monokote is comming alomng slowly. Looking good, but the Monokote is not the easiest to work with Kind of hard to get it "perfect" around wingtips etc. Many opinions, but personally, Oracover is my favourite when it comes to applying it, but costs a �$�$�$�$. On the other hand, the Monokote stands better with age! I have close to 30 year old planes I built in the mid -90`s covered with both Oracover (Ultracote in the US) and Monokote. The Monokote still works, but the old Oracover just falls apart after 30 years.... I guess that is an unrealistic timeframe anyway 
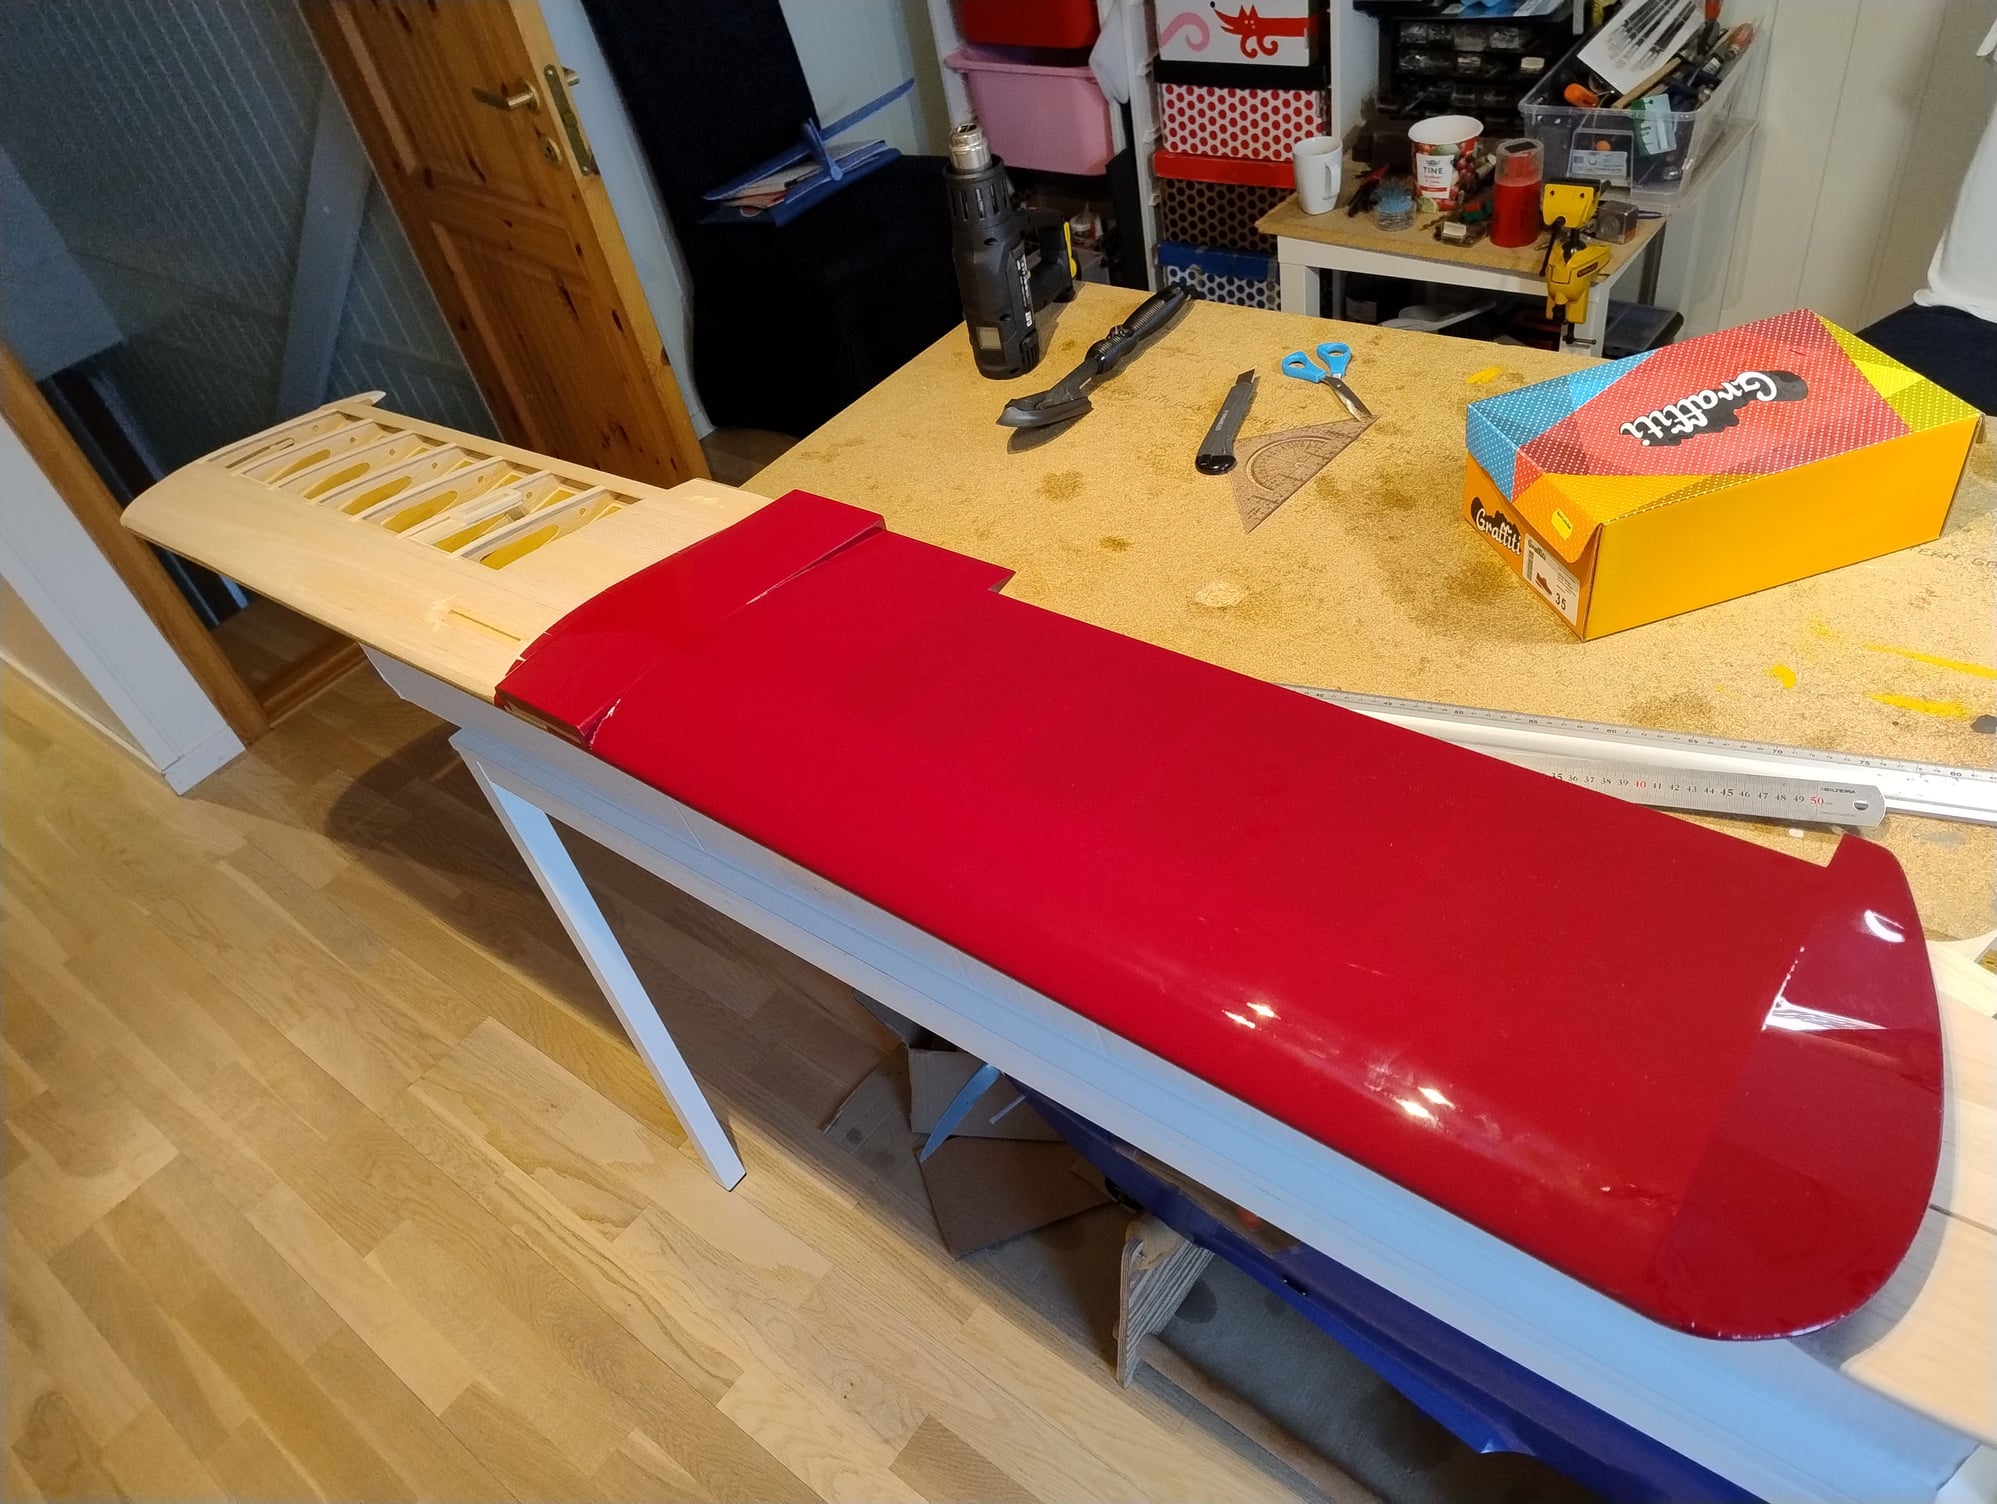
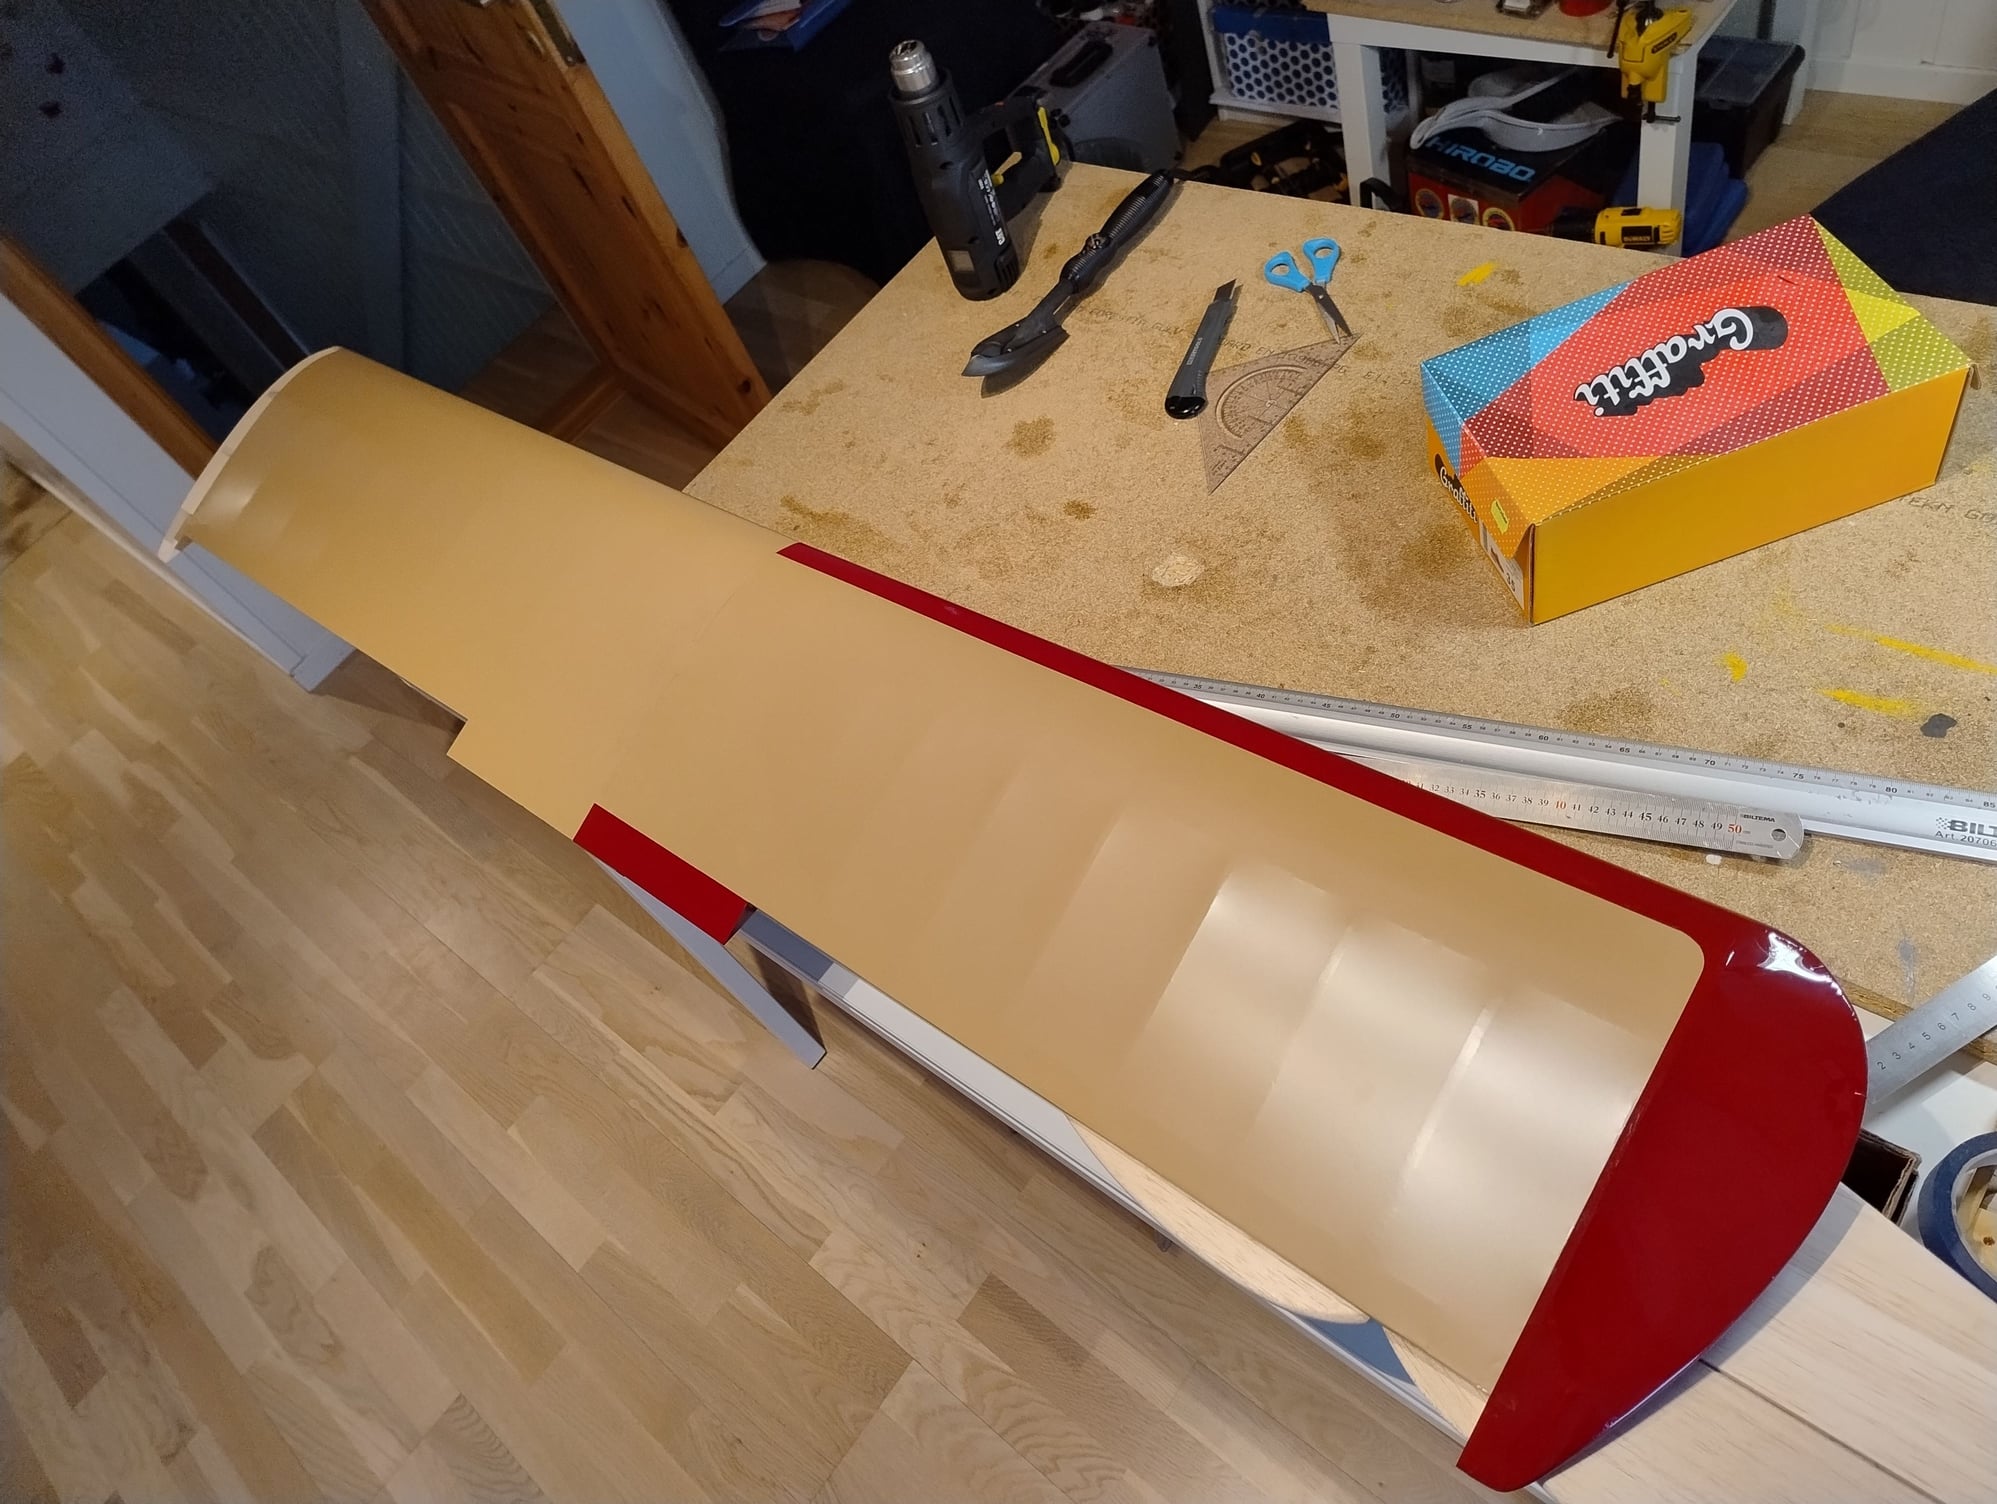
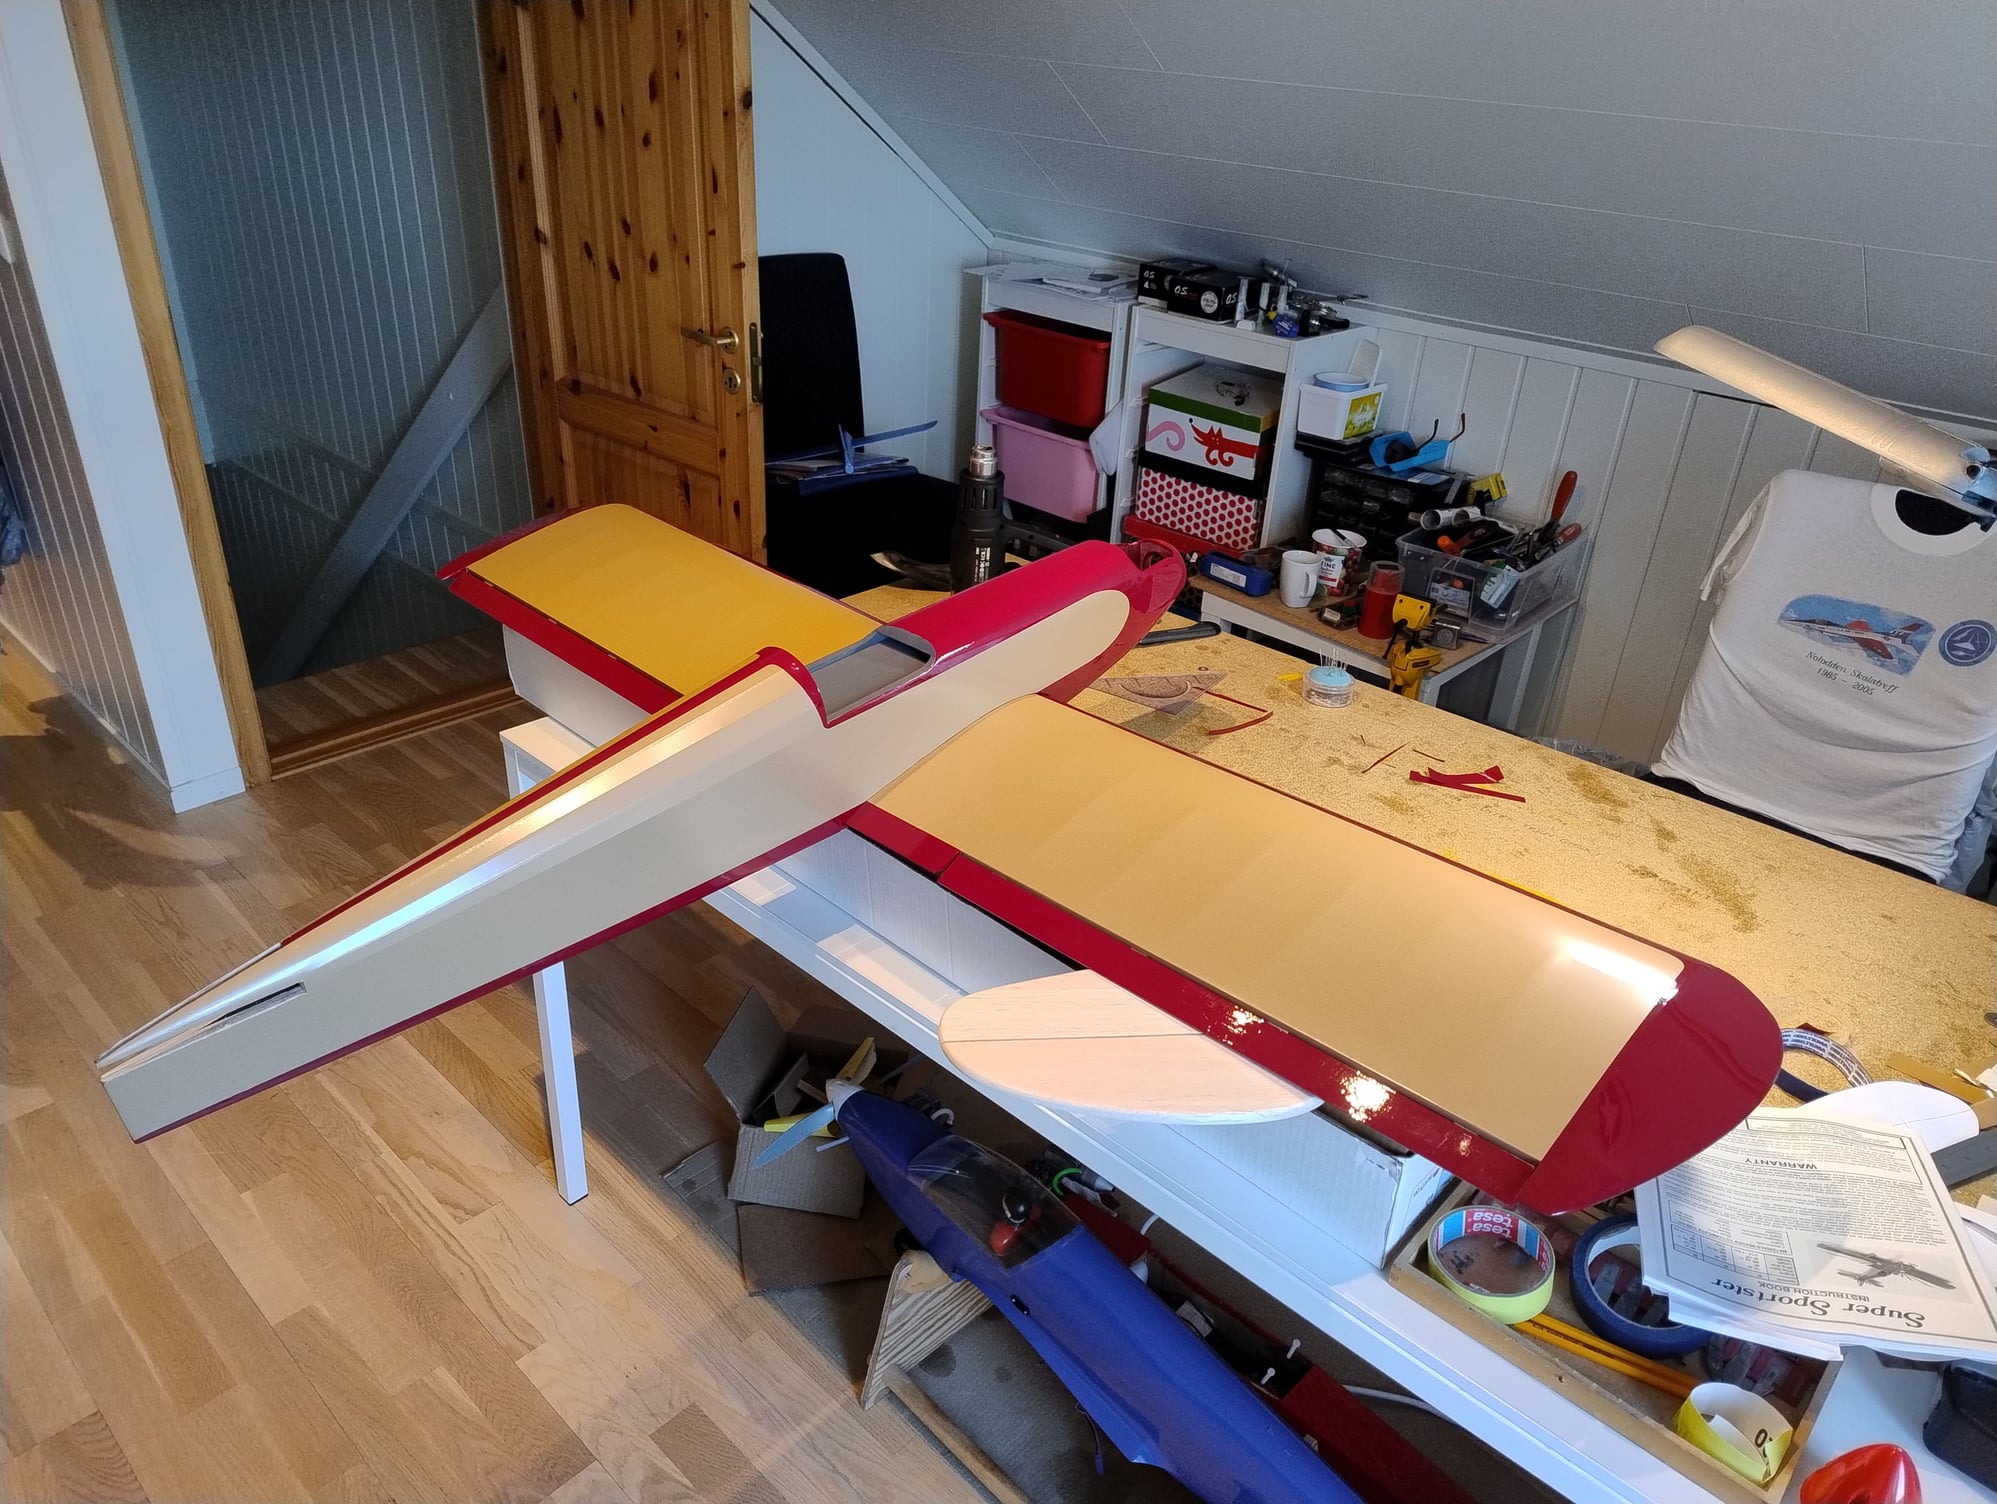
Plan to have this kind of trim. "Tan" upper side with a "Maroon" underside that frames the upper side. Typical SS stripes and stars will be added to the top
Plan to have this kind of trim. "Tan" upper side with a "Maroon" underside that frames the upper side. Typical SS stripes and stars will be added to the top
05-03-2024, 03:32 AM
#19
Coming along nicely,
One this I learned on Monokote (or any covering for that matter I suppose?) is to utilize the stretch properties as well as any shrink properties.
Bummer is I never have enough hands and usually end up burning my fingers trying to heat - pull - and hold the airplane
One this I learned on Monokote (or any covering for that matter I suppose?) is to utilize the stretch properties as well as any shrink properties.
Bummer is I never have enough hands and usually end up burning my fingers trying to heat - pull - and hold the airplane
05-03-2024, 04:00 AM
#20
Coming along nicely,
One this I learned on Monokote (or any covering for that matter I suppose?) is to utilize the stretch properties as well as any shrink properties.
Bummer is I never have enough hands and usually end up burning my fingers trying to heat - pull - and hold the airplane
One this I learned on Monokote (or any covering for that matter I suppose?) is to utilize the stretch properties as well as any shrink properties.
Bummer is I never have enough hands and usually end up burning my fingers trying to heat - pull - and hold the airplane
You are probably right! Will try that on the next wing tip.
Every build is a new learning, for sure!
The following 2 users liked this post by MrRover75:
G.F. Reid (05-21-2024),
RICKSTUBBZ (05-21-2024)
The following users liked this post:
MrRover75 (05-21-2024)
06-03-2024, 10:52 PM
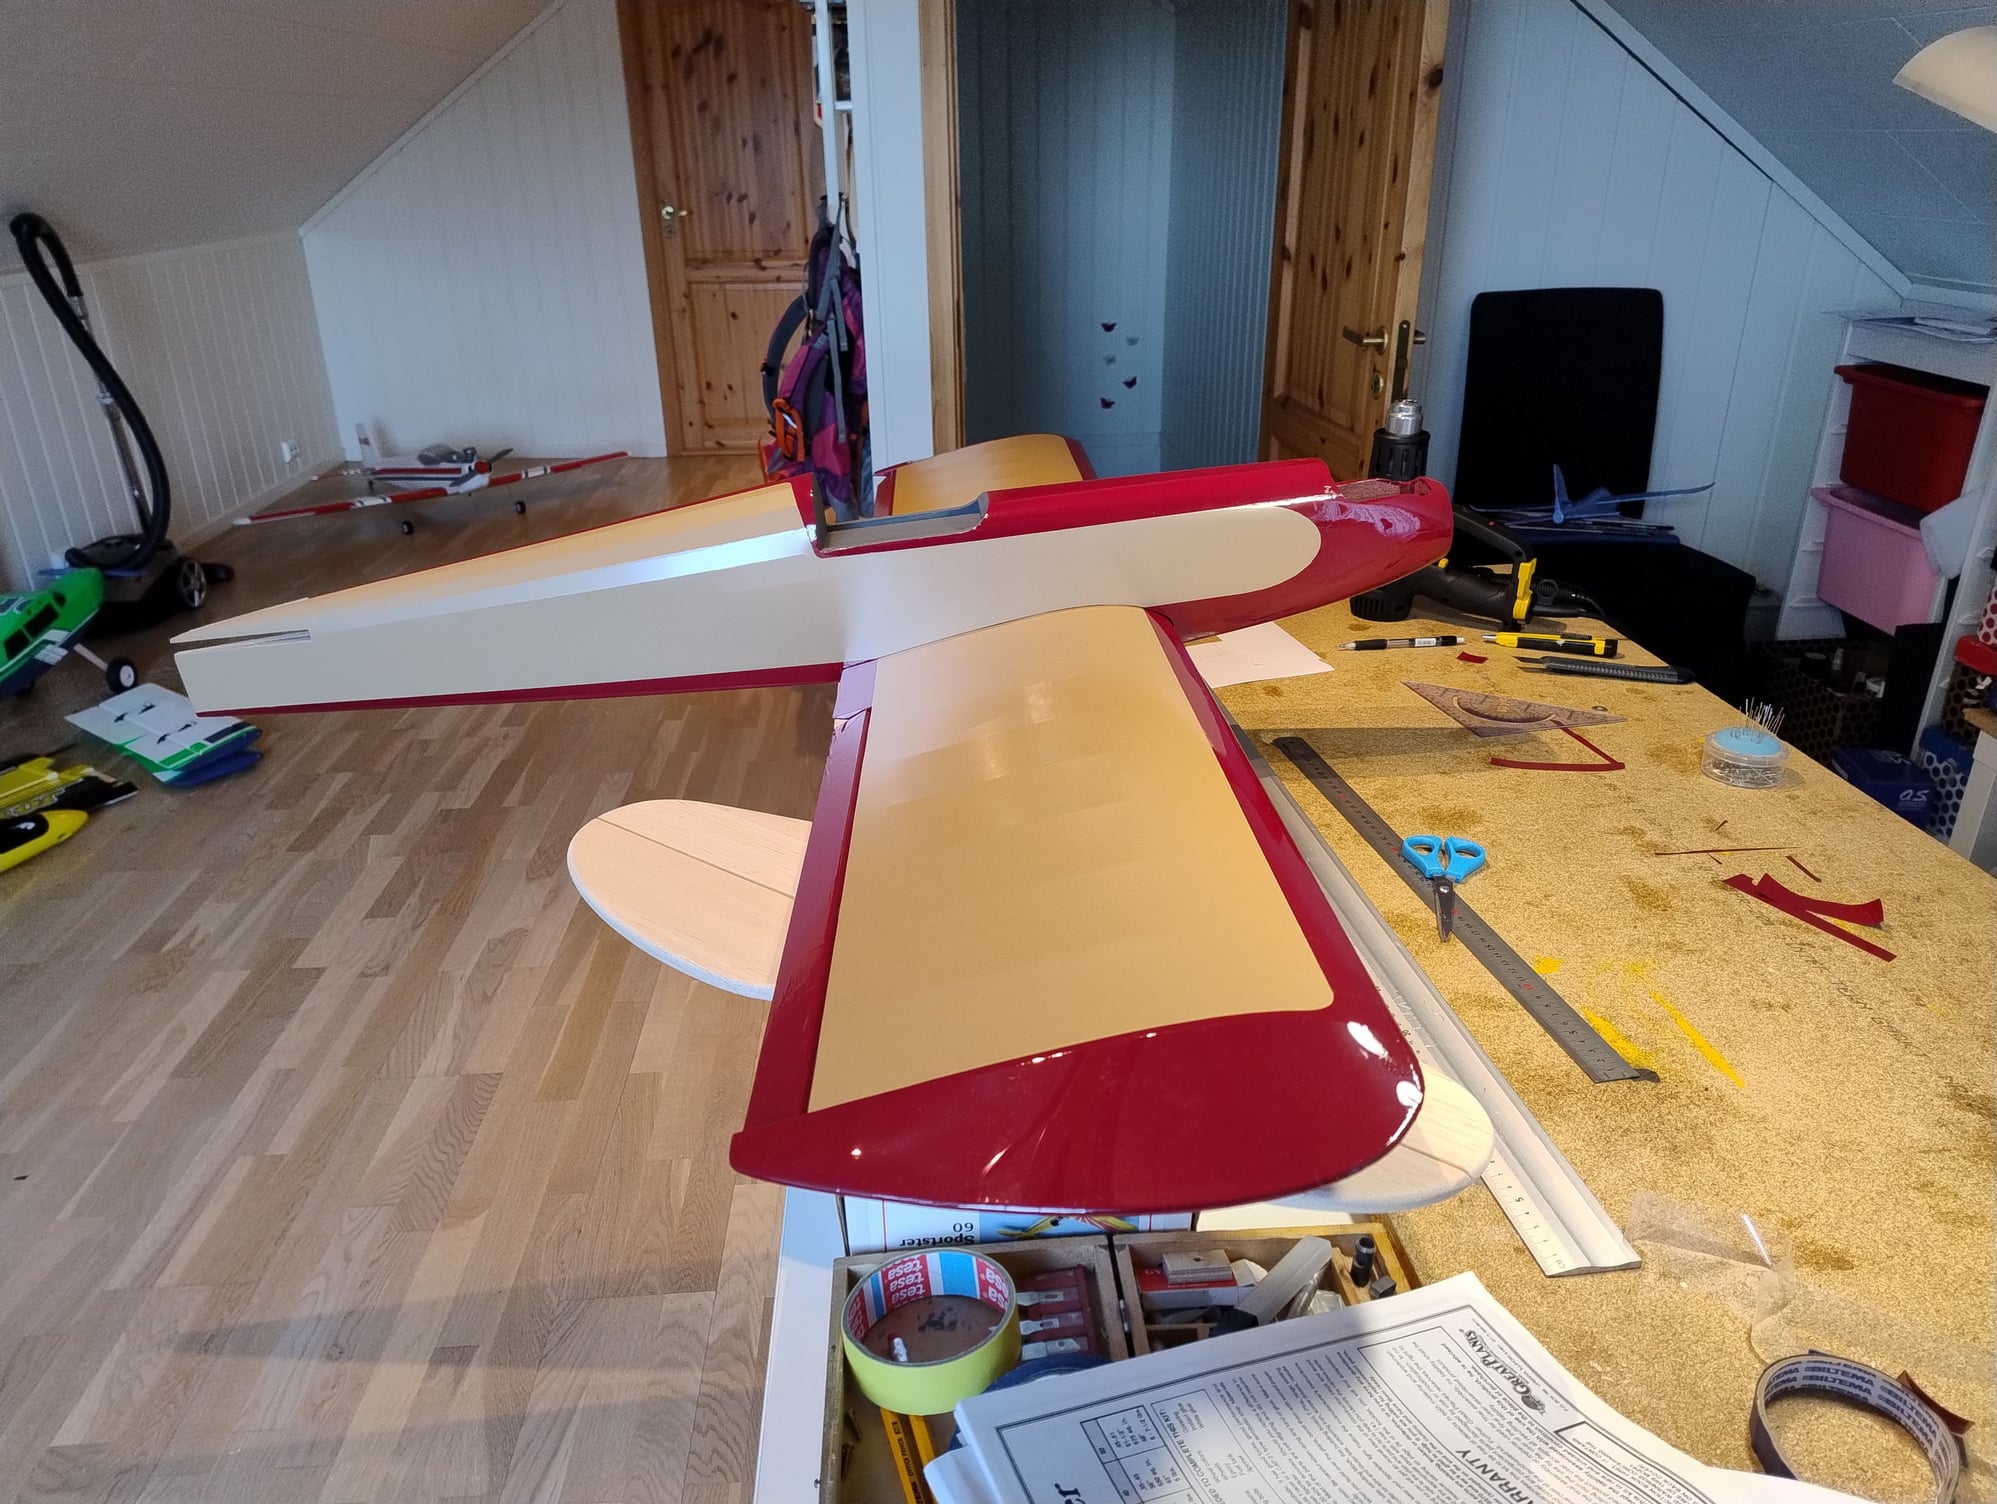
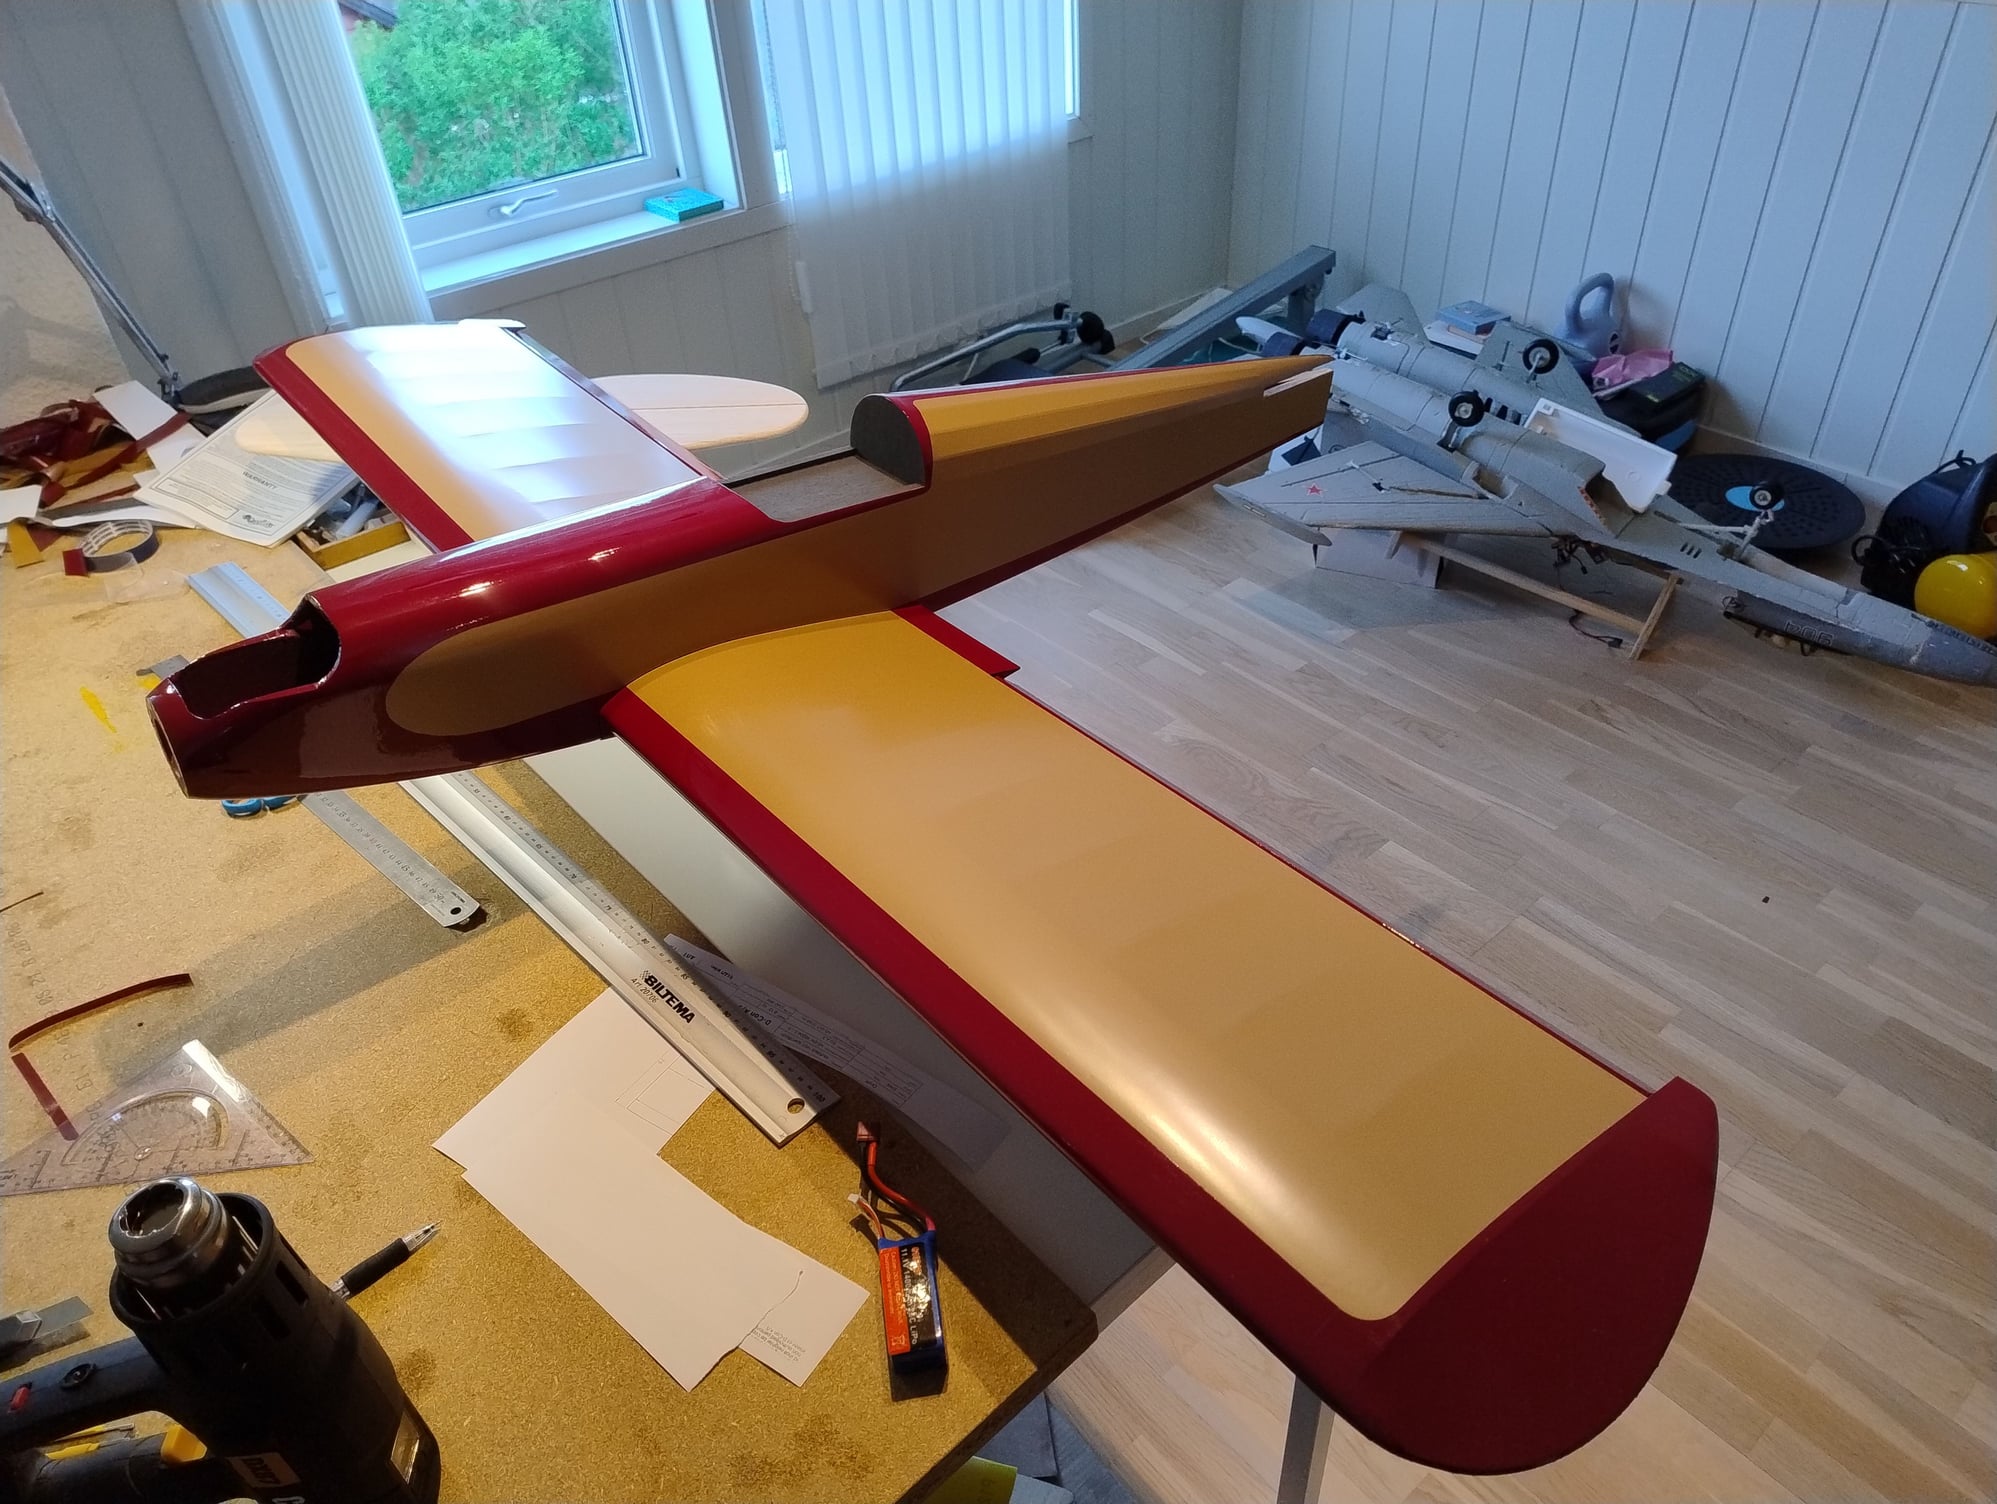
#23
Getting there! There is much work with the details and the Monokote. Just a few more details tackle now, and final assembly can begin. I have not decided if I want to have the typical SS star on the wing or not. Maybe some other details instead?? Need to figure out